Using this feature, a user can boot the DUT from a network rather than an SD card connected on SDMux.
Procedure to copy BSP Files on to Zombie
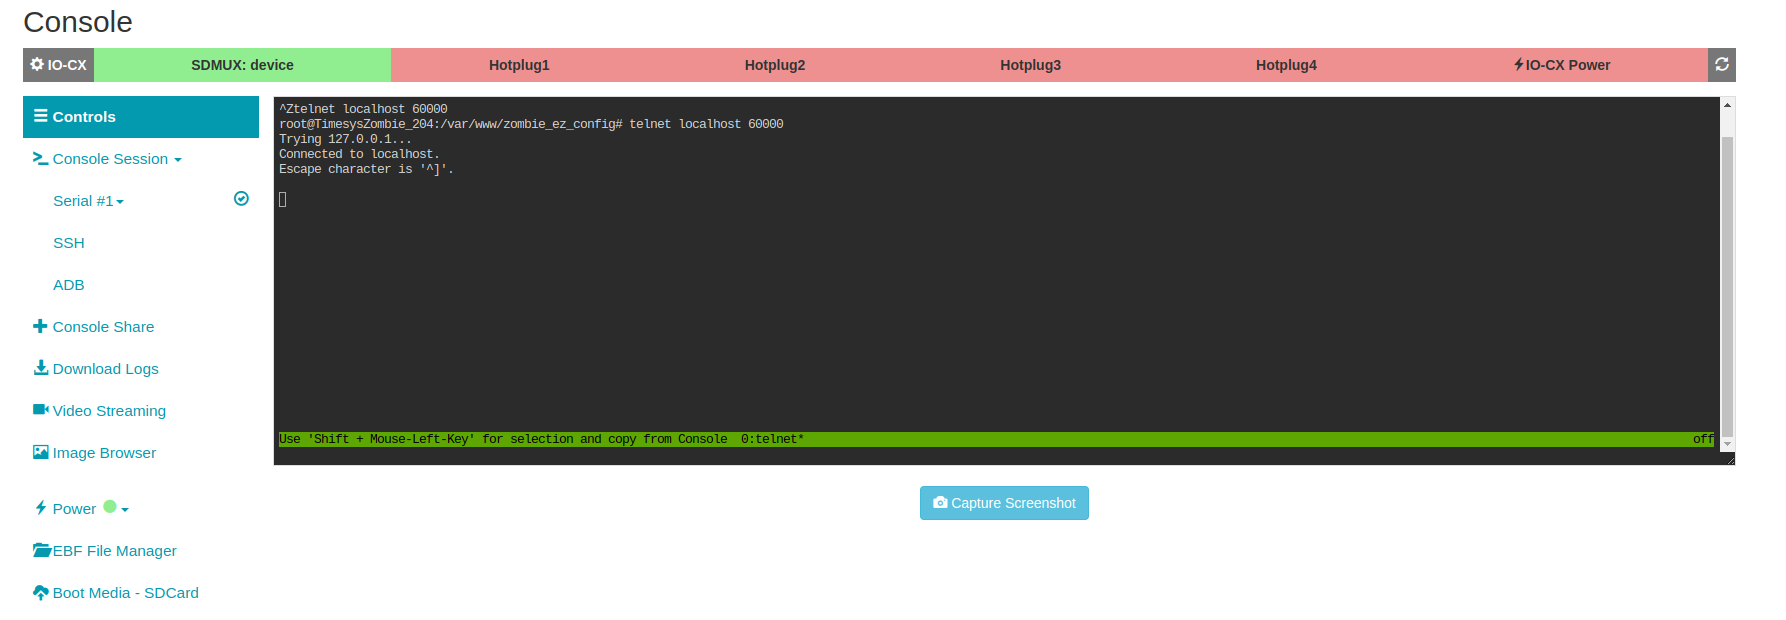
Go to the concerned device’s console and follow the steps given below to copy BSP Files. Follow these steps to Launch Console of the concerned device
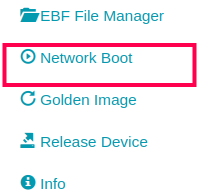
Select ‘Network Boot’ option shown on the console screen.
Close the power off recommendation.

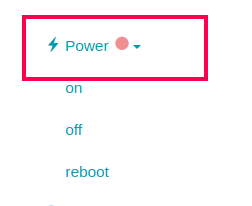
Power off the device.
Re-launch network boot from the console screen.
Network boot page will be shown on the screen.
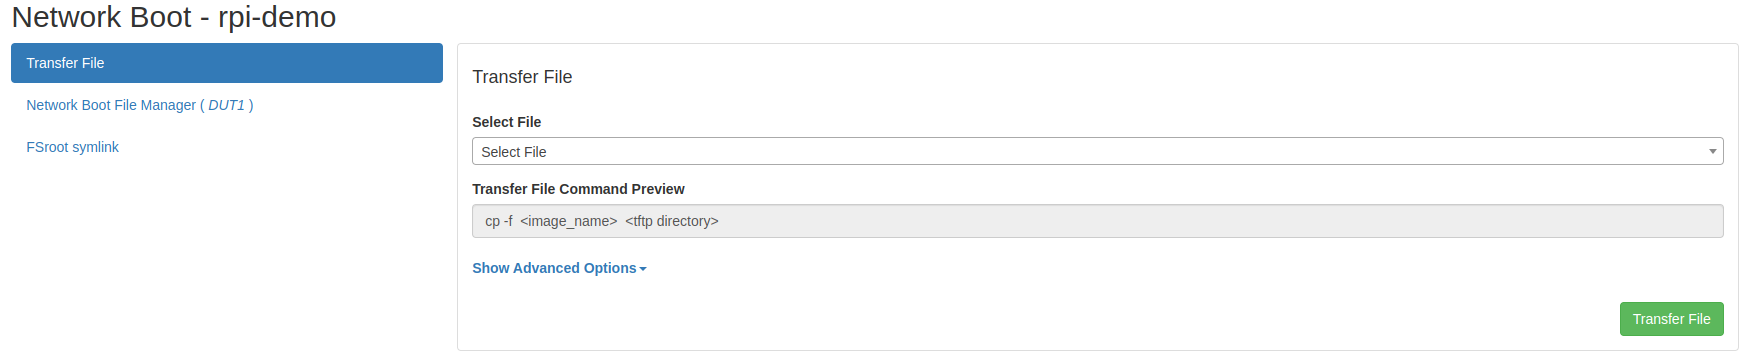
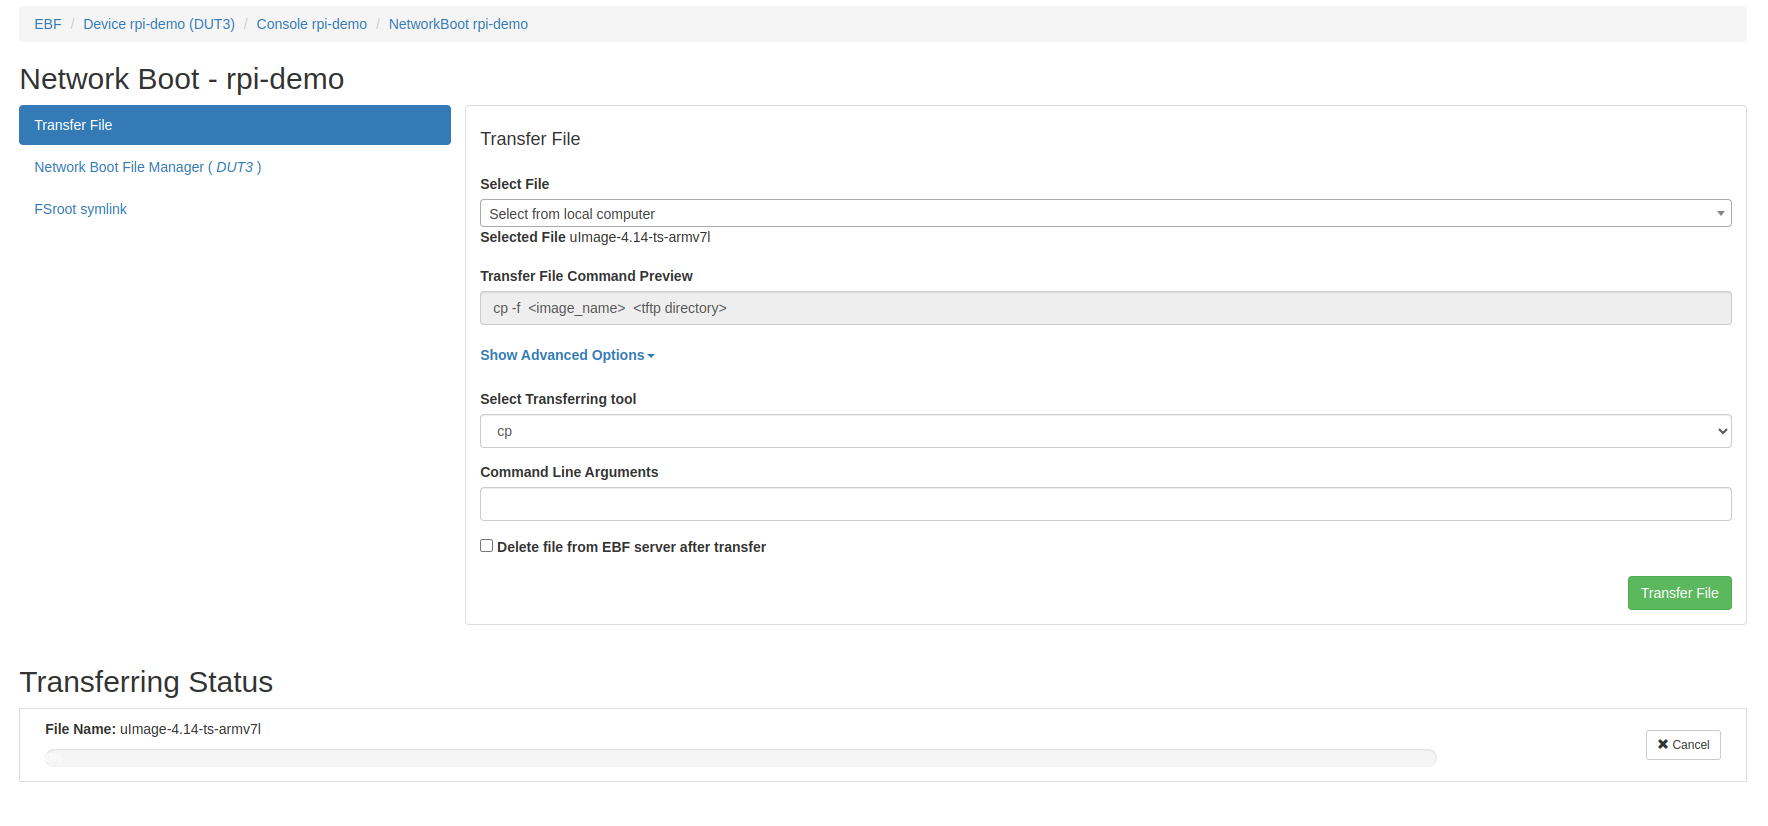
Transfer desired file need for booting DUT
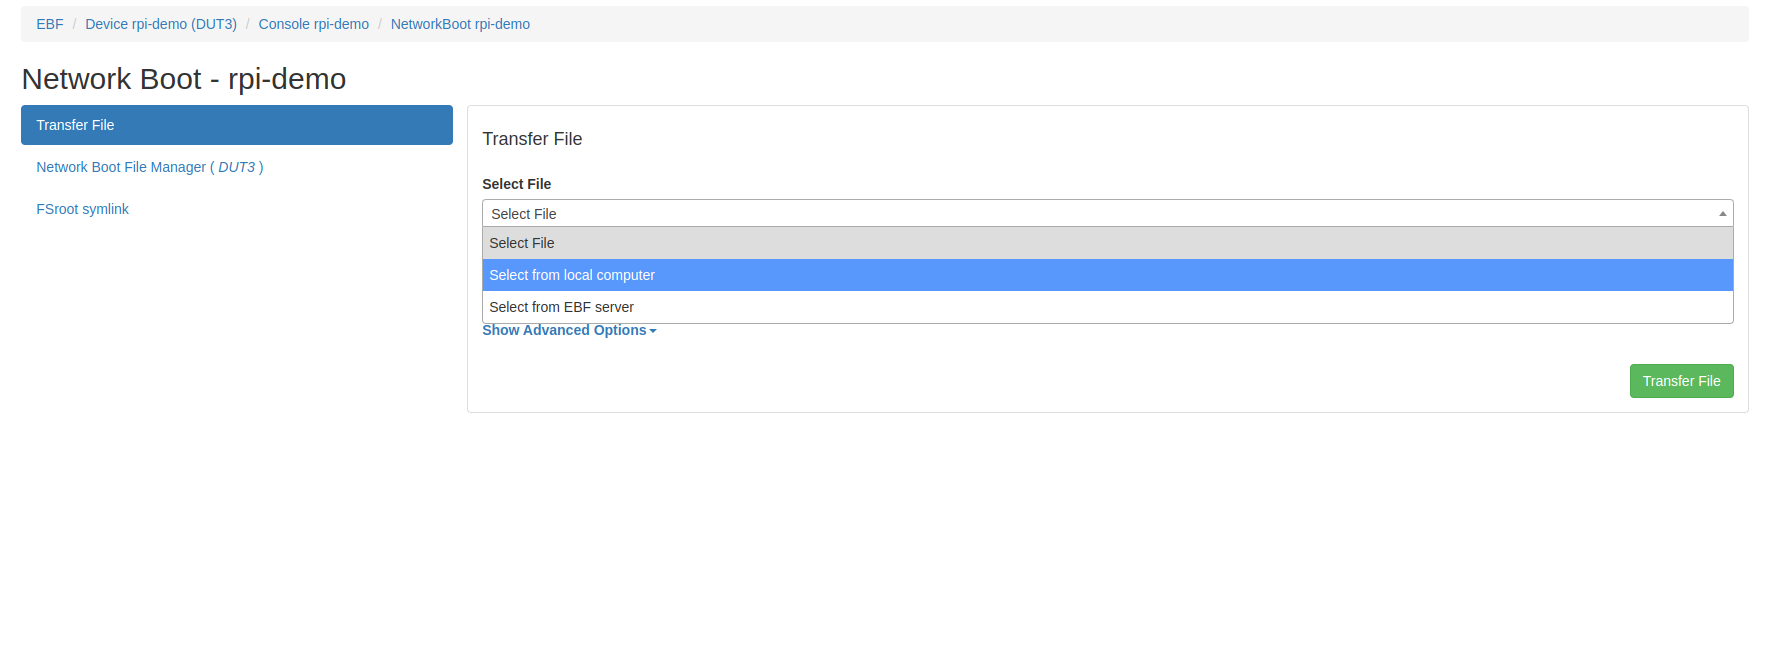
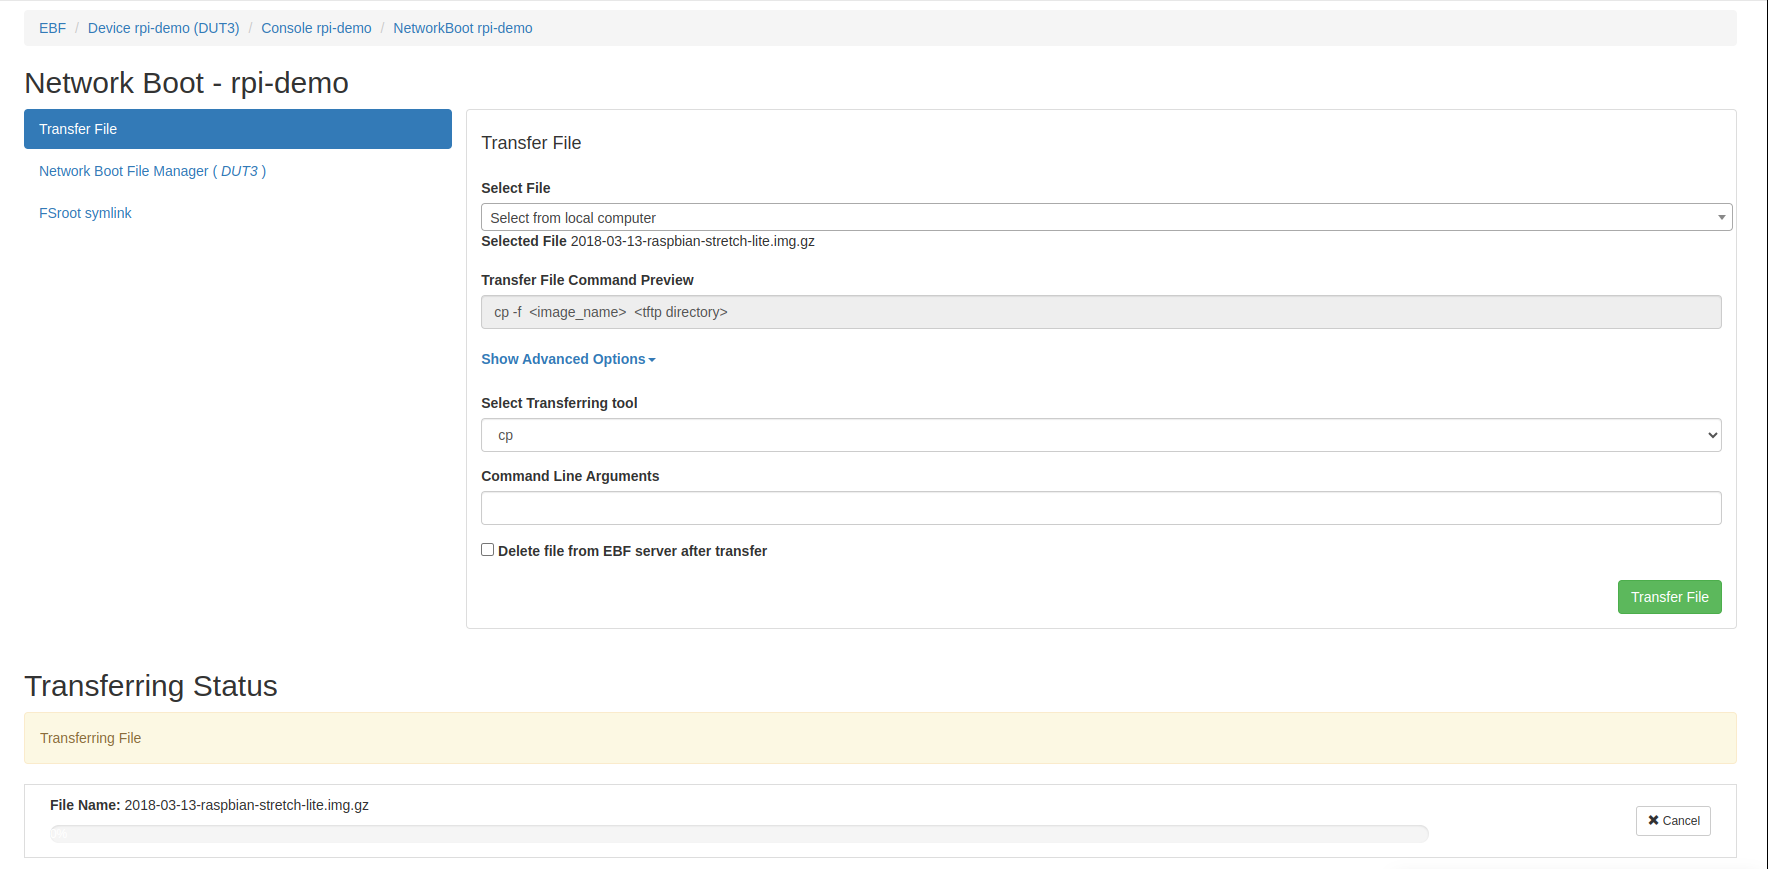
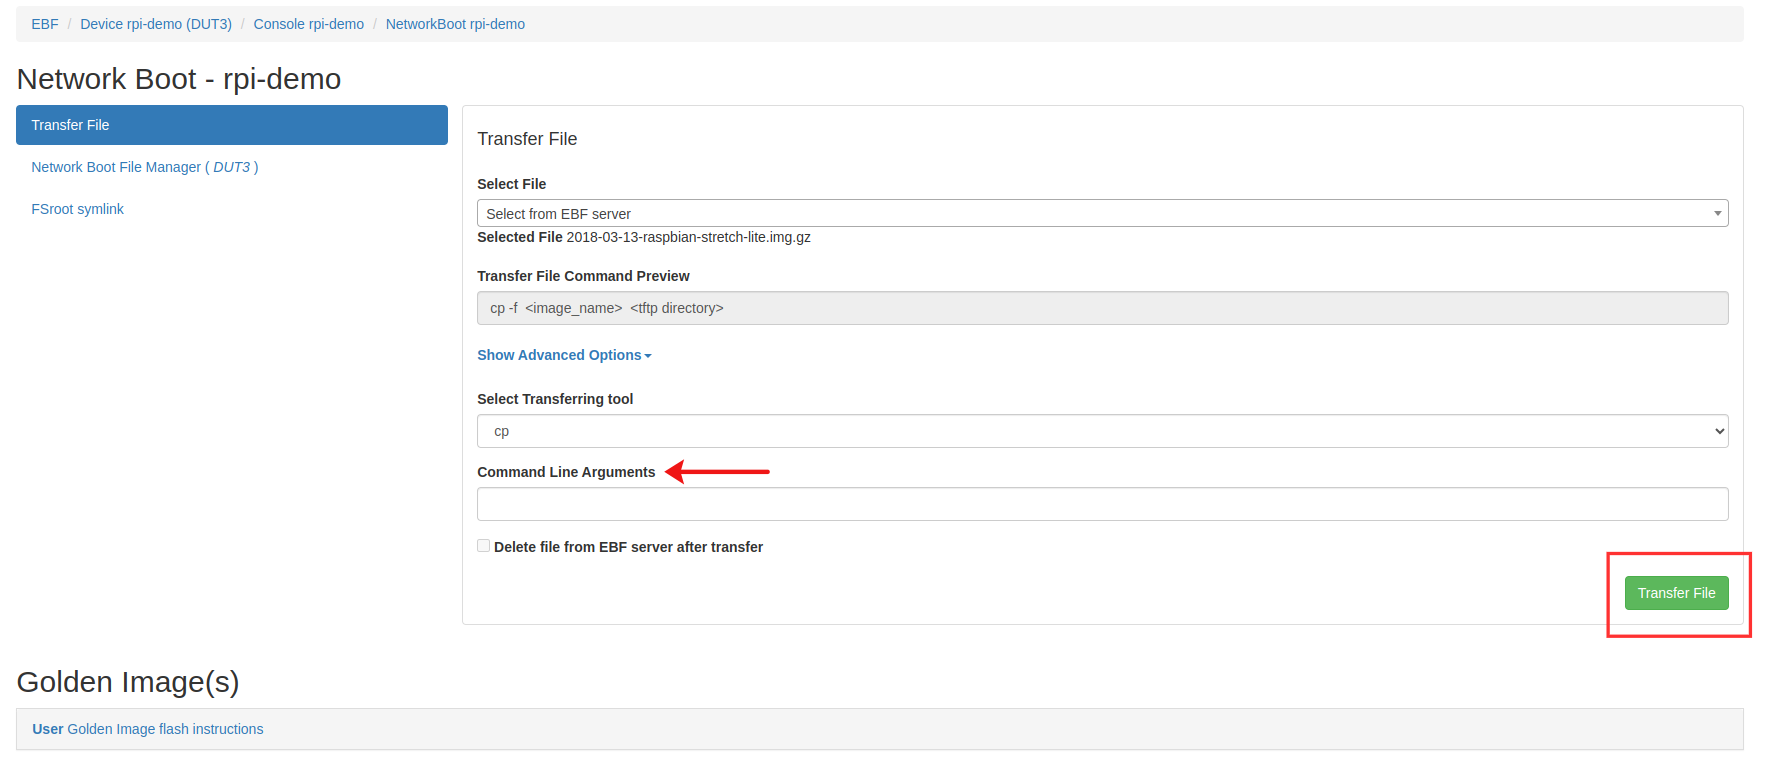
Transfer a DTB file from local computer by selecting through select file drop down after that select transferring tool and give command argument if needed, then click on the check box “Delete file from EBF server after transfer” if you want to delete the file from ebf server otherwise unchecked it finally click on transfer file.
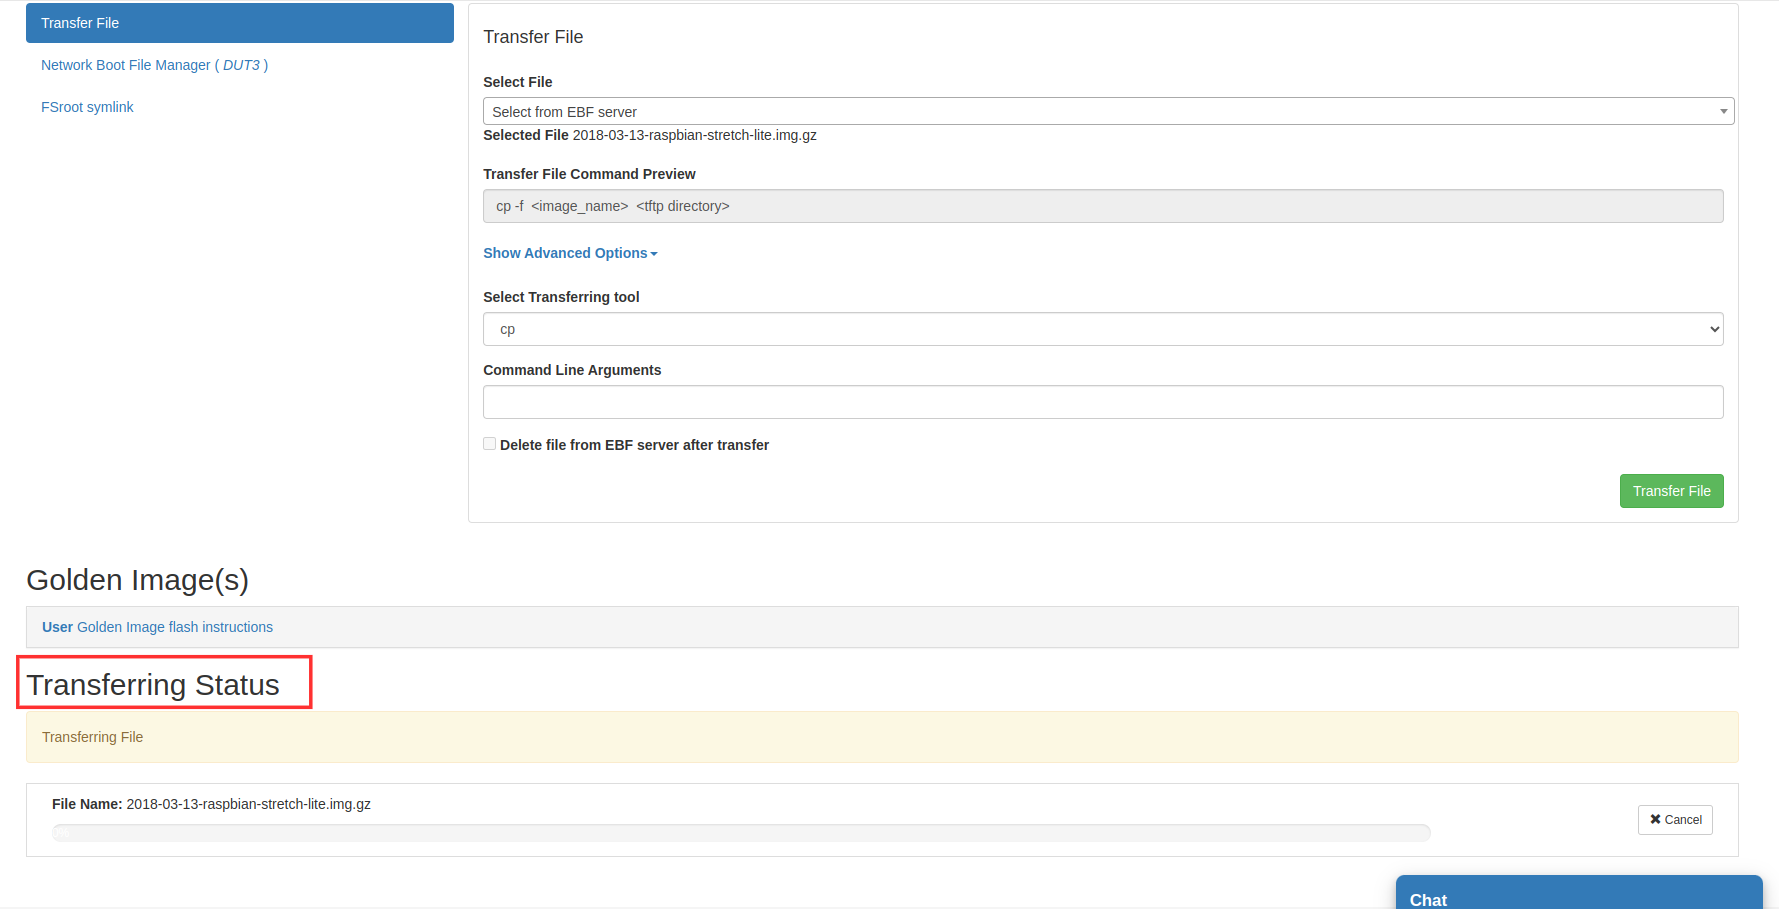
Transfer status should appear on the screen after clicking over the transfer file.
After successful image transfer, a success notification message will be shown on the screen.

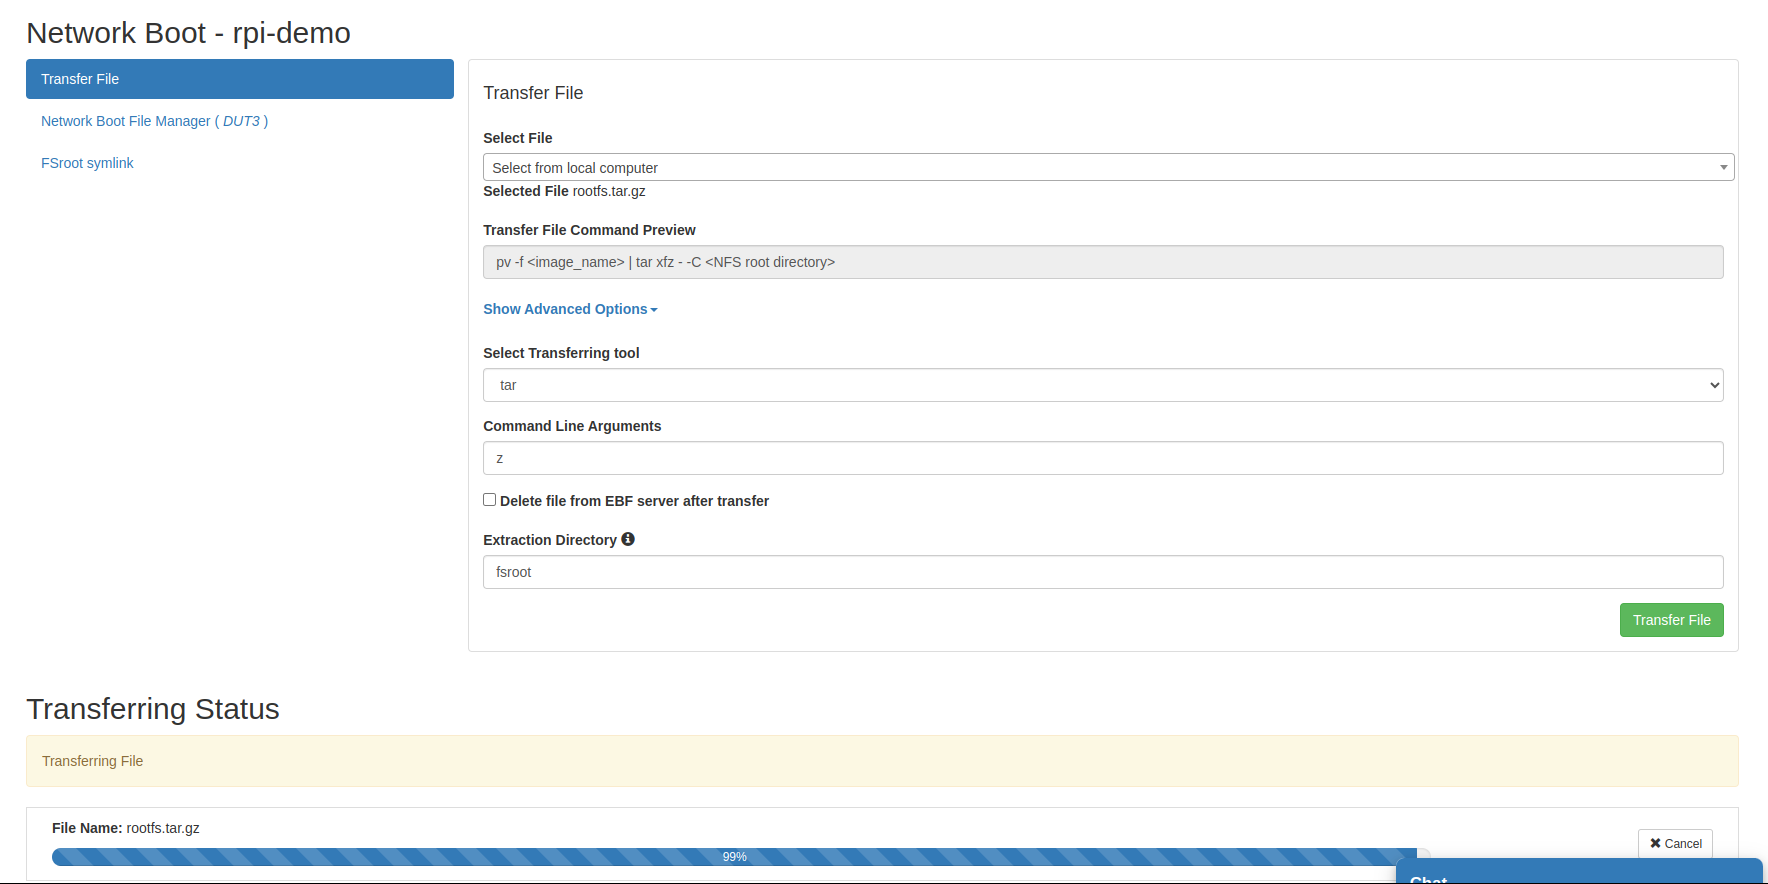
Transfer a rootfs file from local computer by selecting through select file drop down after that select transferring tool and give command argument if needed, then click on the check box “Delete file from EBF server after transfer” if you want to delete the file from ebf server otherwise unchecked and give extraction directory if you want to change extraction directory otherwise it will be extracted into fsroot directory finally click on transfer file.
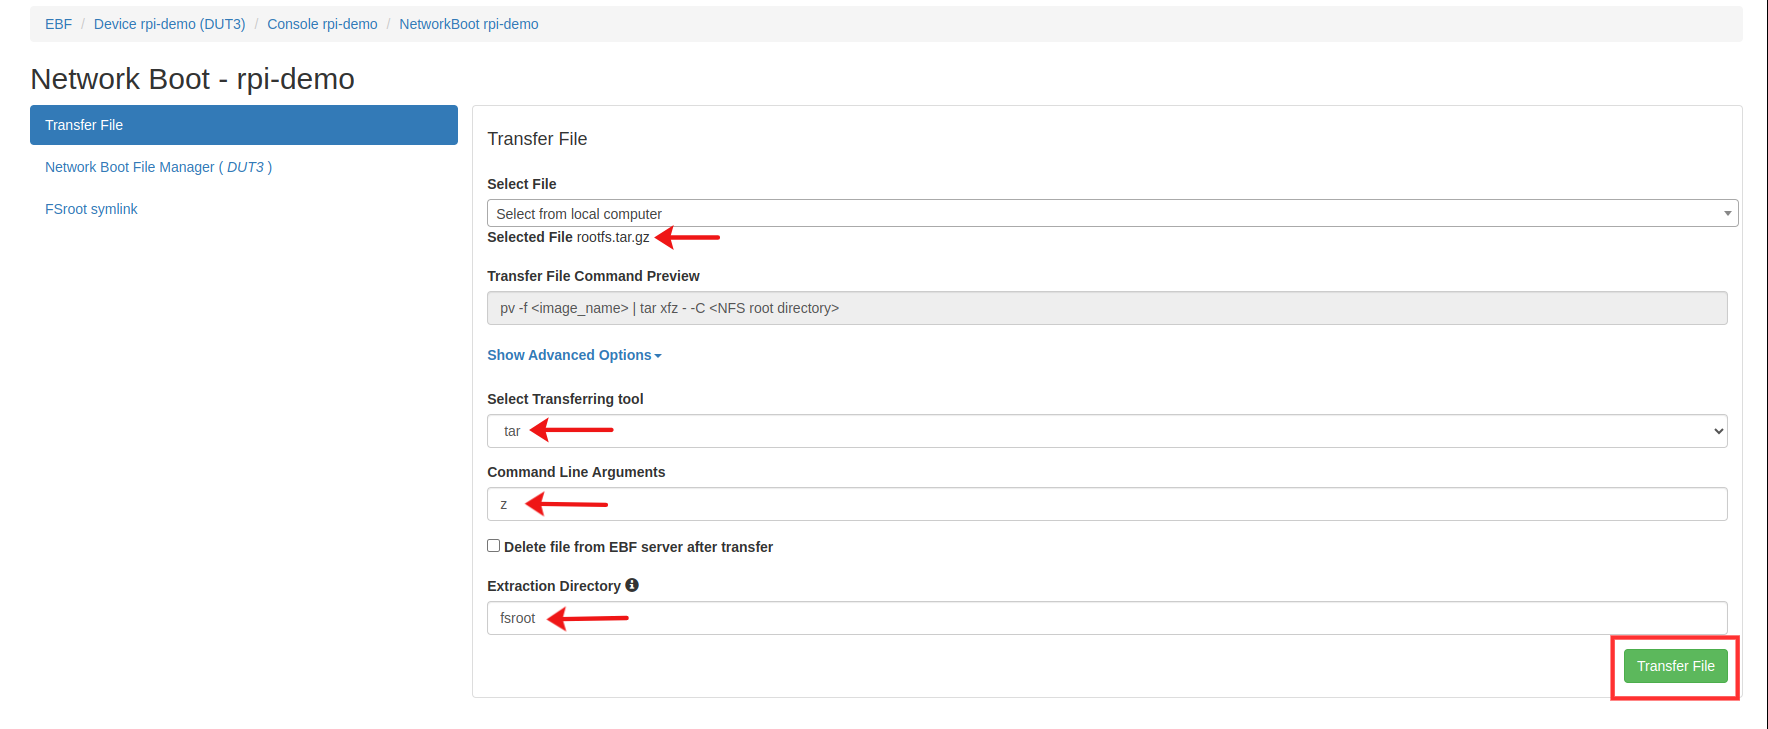
Transfer status should appear on the screen after clicking over the transfer file.
After successful image transfer, a success notification message will be shown on the screen.
Transfer a uImage file from local computer by selecting through select file drop down after that select transferring tool and give command argument if needed, then click on the check box “Delete file from EBF server after transfer” if you want to delete the file from ebf server otherwise unchecked it finally click on transfer file.
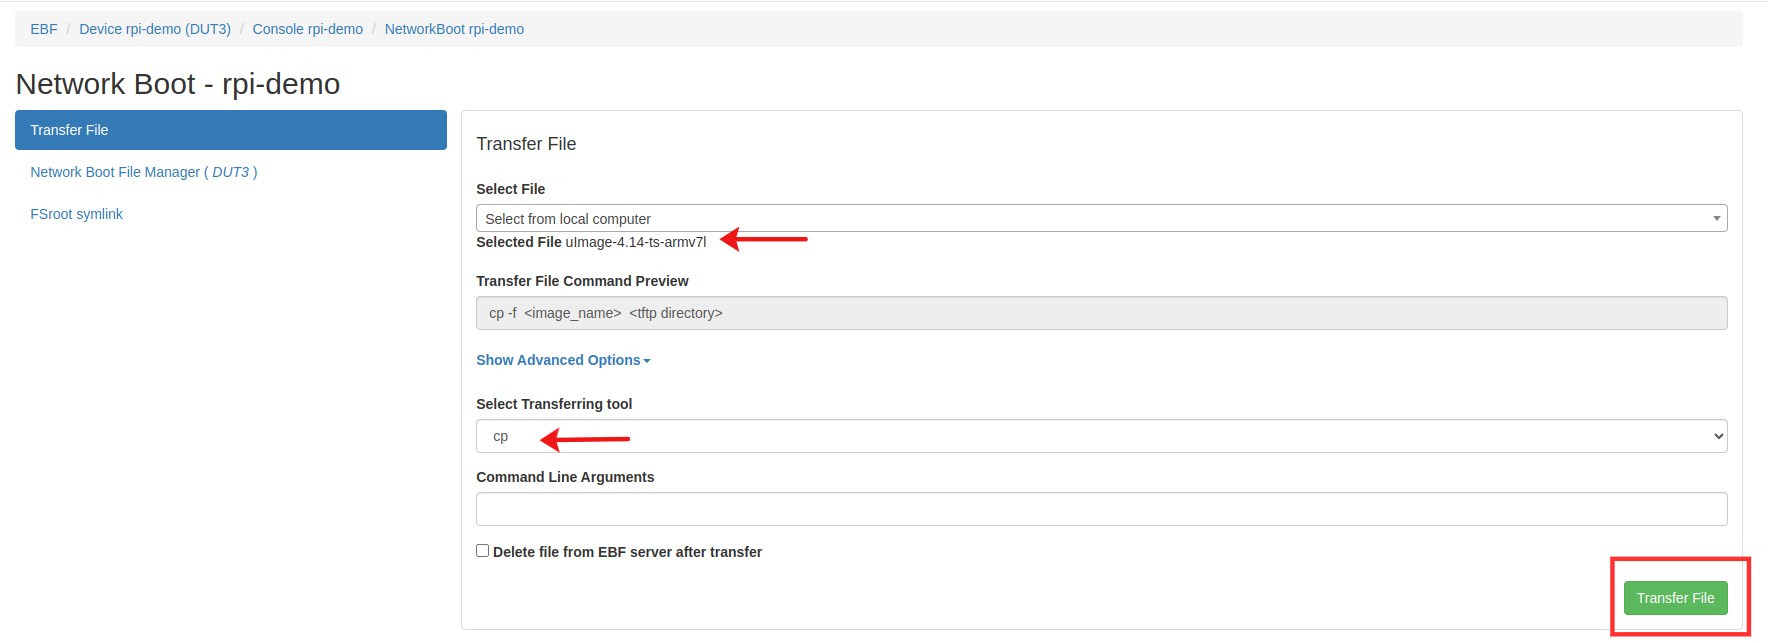
Transfer status should appear on the screen after clicking over the transfer file.
After successful image transfer, a success notification message will be shown on the screen.
View transferred image in network boot file manager
Select Network boot file manager from left panel to view the transferred file in network boot file manager list.

File manger should have all transferred image

Procedure to copy golden image on to Zombie
Please follow the below steps for adding golden images for the device. Following are the steps to add Golden Images on EBF Server:
Login to the EBF homepage/Dashboard through a web browser with credentials.
Username : <username>
Password : <password>
This would open up EBF Dashboard.
First Allocate the device to yourself. Please user_guide.html#how-to-allocate-device-available-on-ebf-server
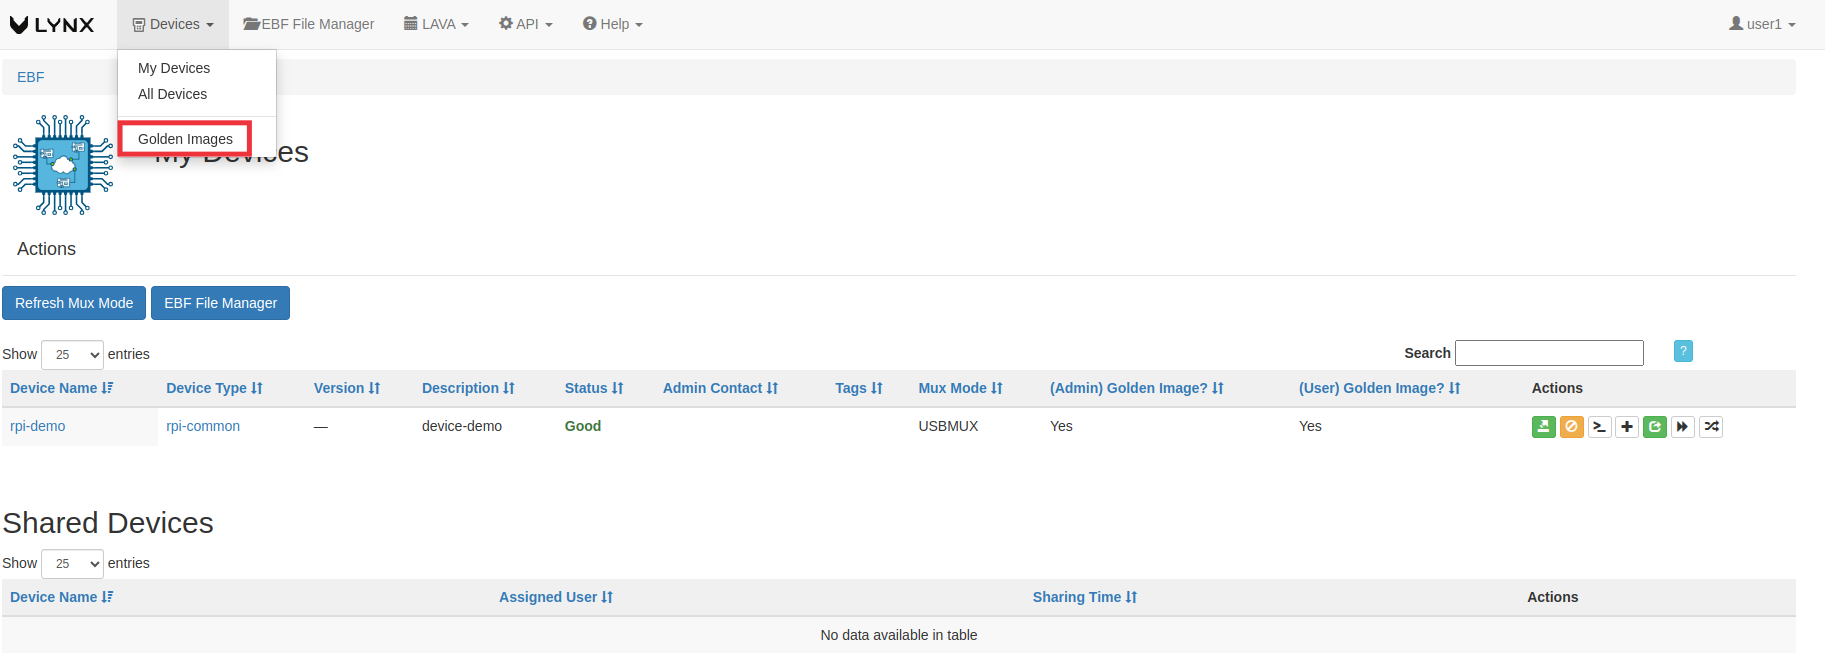
Go to Devices -> Golden Images Select Golden Image option from the menu.
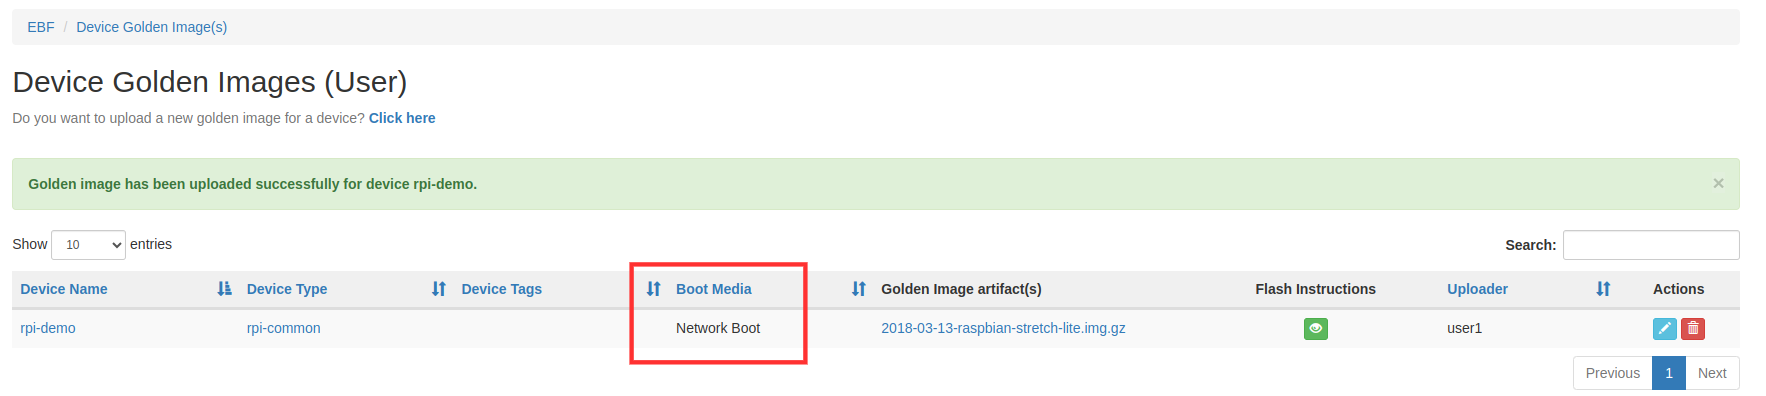
After selecting golden image option, you will see golden image dashboard.
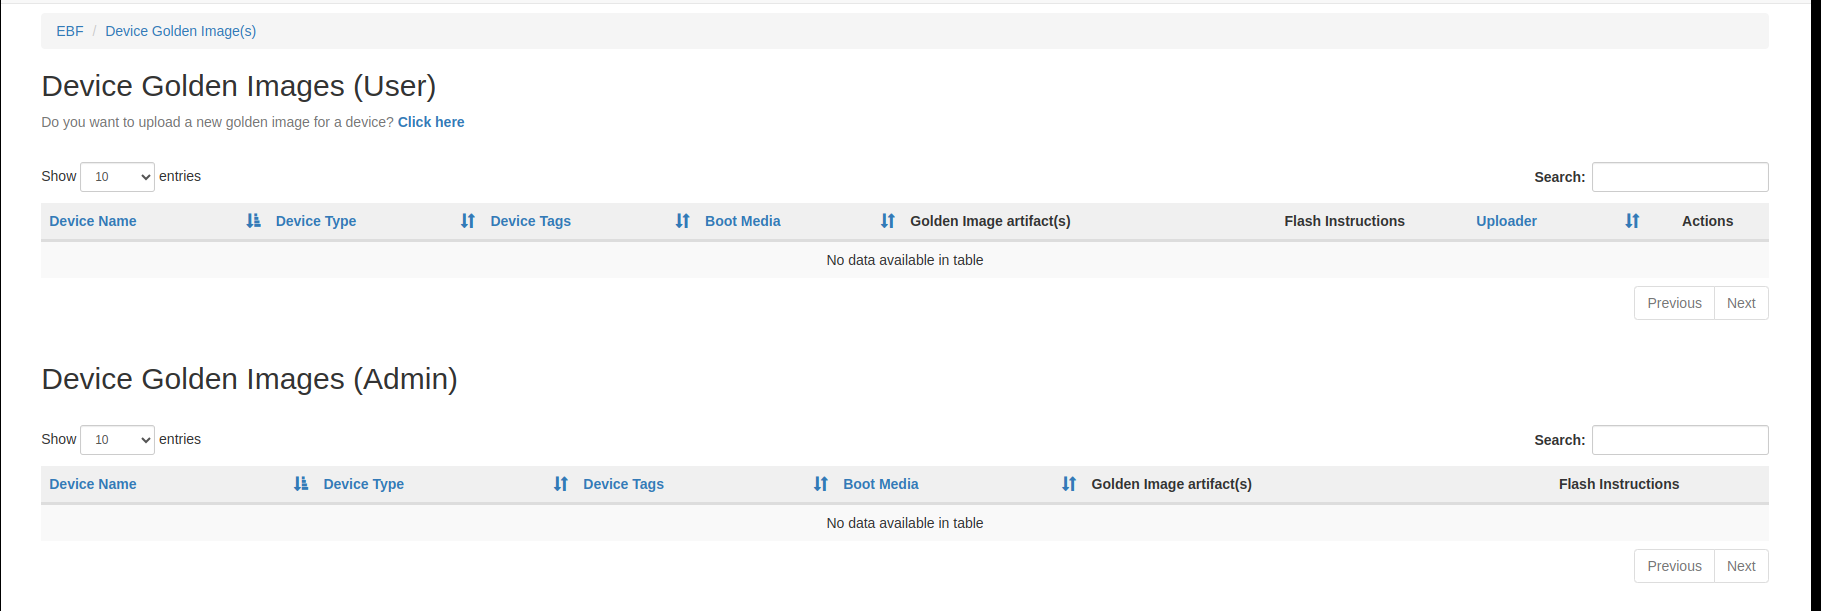
Click on the option Click here.

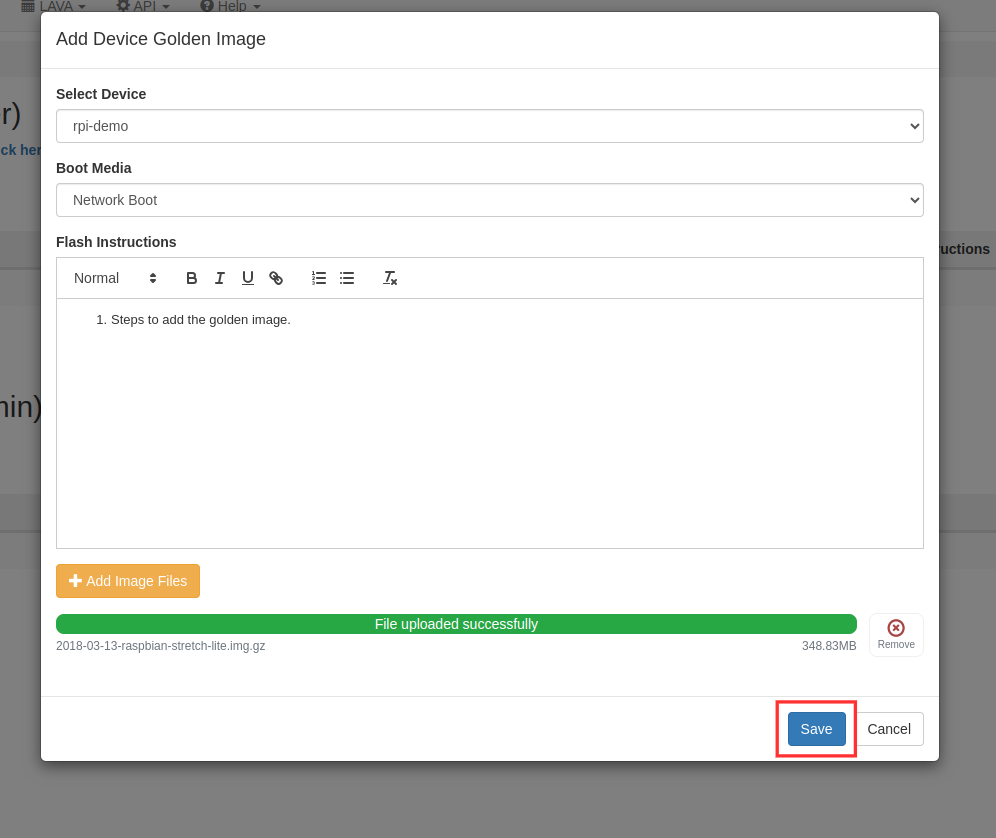
From Select device drop-down and choose device on which you want to add the golden image.
Select the boot-media: Network Boot.
Add the flash instructions which is optional.
Click on +Add Image files which you want to add for the device.After selecting the image, click on Upload option to upload the file.
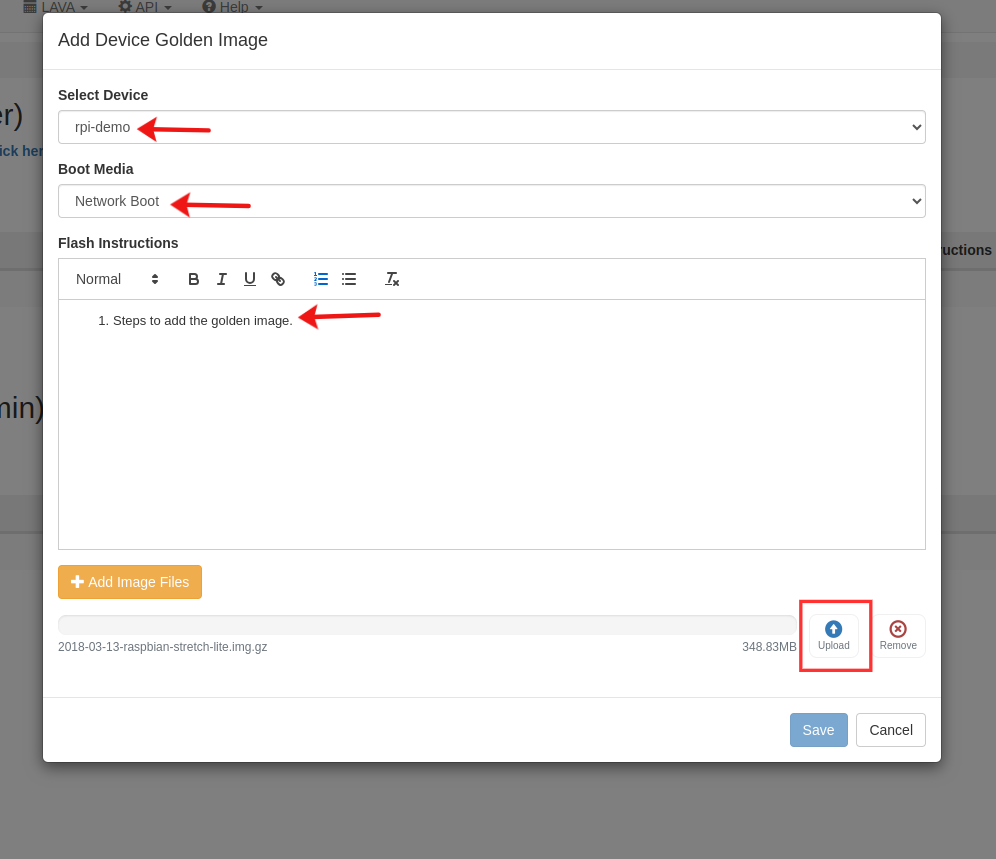
After uploading the file,click on save button.
After successfully uploading the golden image, details regarding image and Network boot will come under the Boot Media column.
Launch the console of the device. Select ‘Network Boot’ option shown on the console screen.
Close the power off recommendation.
Power off the device.
Re-launch network boot from the console screen.
Network boot page will be shown on the screen.
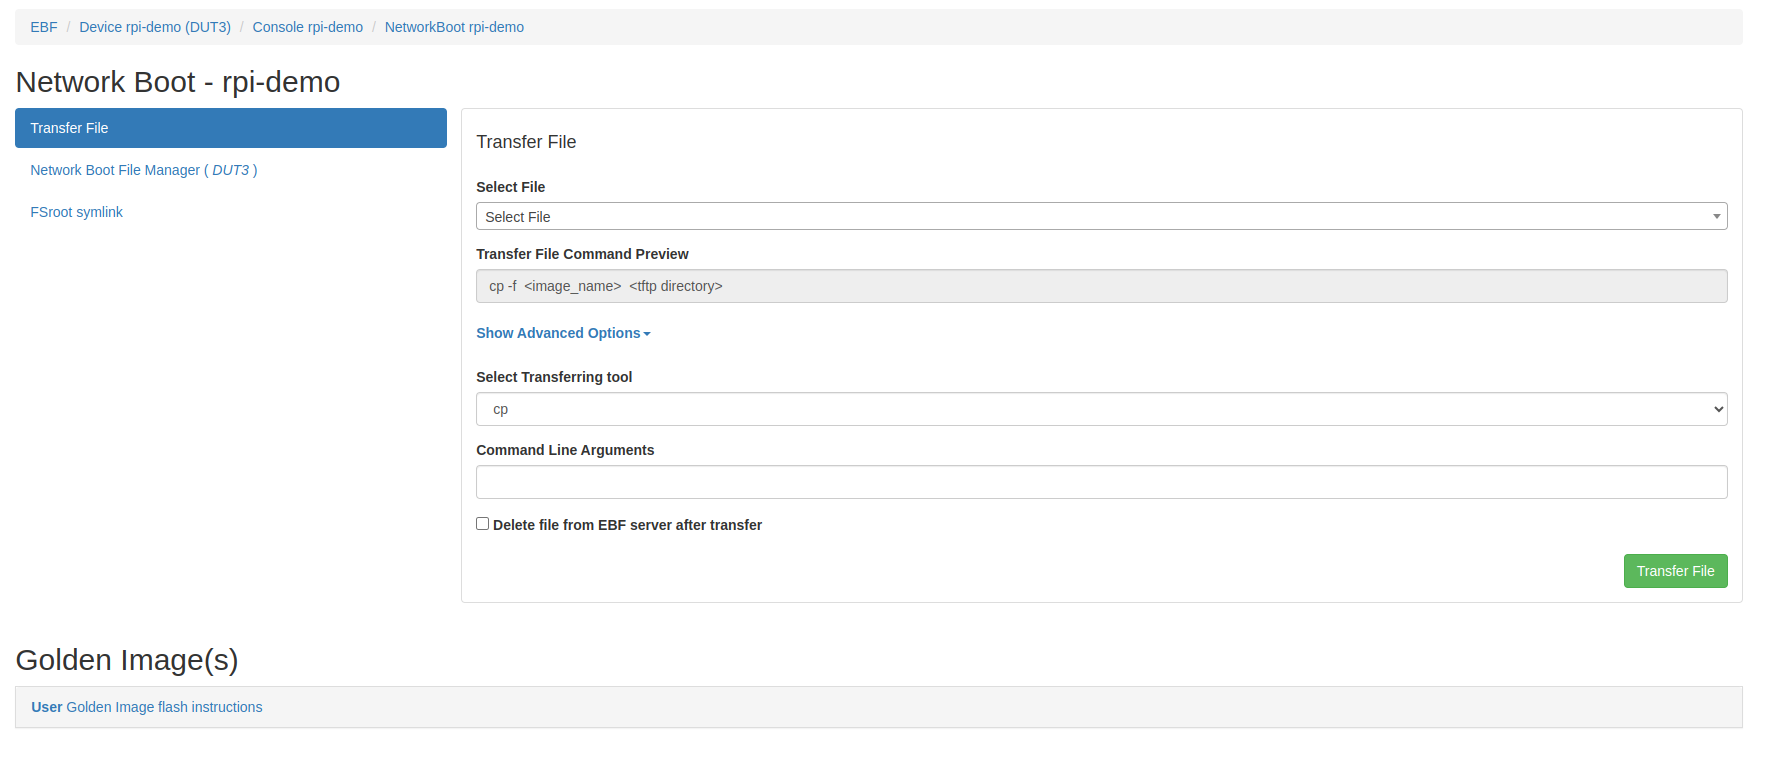
Transfer golden image for booting DUT
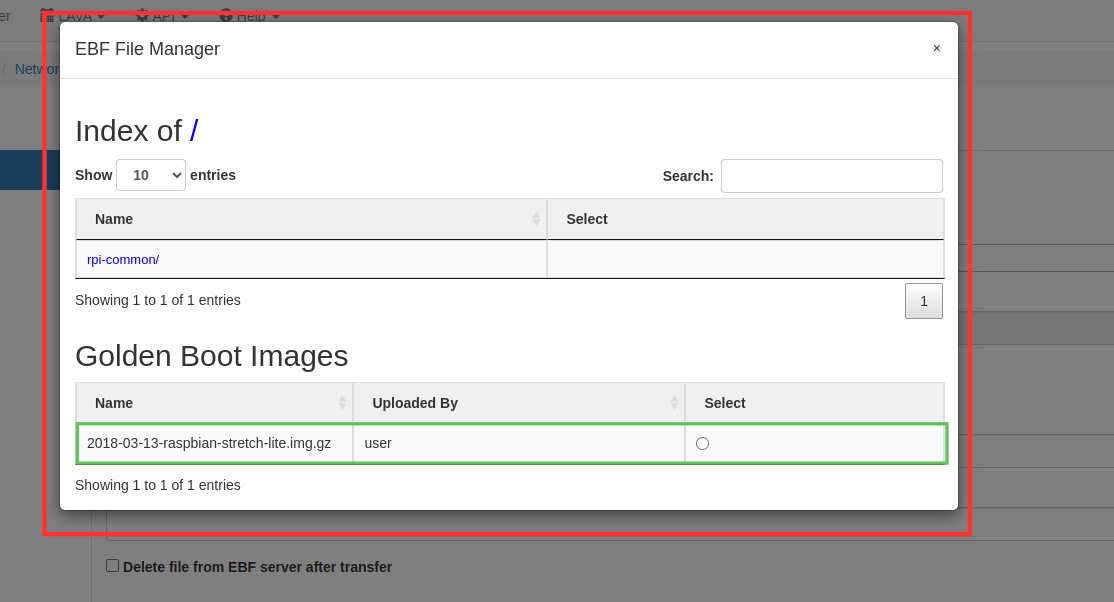
Transfer a golden image by selecting EBF server from the drop down. A pop-up will appear on the screen, select the golden image you want to transfer.
After that select transferring tool, give command argument if needed and click on Transfer file button to transfer the file.
Transfer status should appear on the screen after clicking over the transfer file.
After successful image transfer, a success notification message will be shown on the screen.

Booting DUT with New BSP
Once BSP files are copied, follow steps mentioned below to boot DUT with new BSP files.
Access device web console via EBF Server.Go to U-boot prompt of DUT as shown below.
Configure boot arguments in u-boot prompt to boot DUT from NFS rootfs of Zombie.
Execute following commands in u-boot prompt to perform this action
=> setenv serverip <Zombie IP>
=> setenv  bootargs console=<serial console>,<baud rate>  root=/dev/nfs  rw nfsroot=<Zombie IP>:<exact rootfs location>,tcp,hard,intr ip=dhcp
Example:
=> setenv  serverip 192.168.111.1
=> setenv  bootargs  console=ttyS0,115200n8 root=/dev/nfs rw nfsroot=192.168.111.1:/var/lib/lava/dispatcher/tmp/nfs/DUT4/fsroot,tcp,hard,intr ip=dhcp
NOTE:Here replace DUT4 with your DUT directory where you have copied BSP files and replace the directory name for extracted rootfs with your directory name.
Now assign automatic IP address to DUT. By executing ‘dhcp’ command on U-boot, DUT will be assigned a new IP address.
=> dhcp
Once DUT is bound with IP address, load kernel file from zombie TFTP to DUT by executing the following command:
=> tftp  0x82000000   192.168.111.1:upload/DUT4/<kernel_binary_file>
=> tftp  0x88000000 192.168.111.1:upload/DUT4/<dtb_file>
Note- Replace <kernel_binary_file> with your kernel binary file name and Kernel address could be different for your board. DUT4 should also be changed to your DUT directory where BSP files were uploaded.
Once kernel file is loaded, then similarly load DTB file . After loading DTB execute following command to boot DUT with new BSP.
=> booti <kerneladdr> - <dtbaddr>
Example: = > booti 0x82000000 - 0x88000000
Depending on Kernel image types, there are various boot options available:
Example1: If kernel image type is Image
=> booti 0x82000000 - 0x88000000
Example2: If kernel image type is uImage
=> bootm 0x82000000 - 0x88000000
Example3: If kernel image type is zImage
=> bootz 0x82000000 - 0x88000000
The device is booted through network boot and is ready for testing and for performing other processes on the device. Monitor to see Login prompt of DUT to verify that DUT successfully booted with new BSP. Verify to see changes of New BSP and perform further test functionality.