How to Create Test Plan
Following are the steps to Create User defined test plan:
1 Login to EBF-TAS dashboard through web browser with your credentials
Username : <username>
Password : <password>
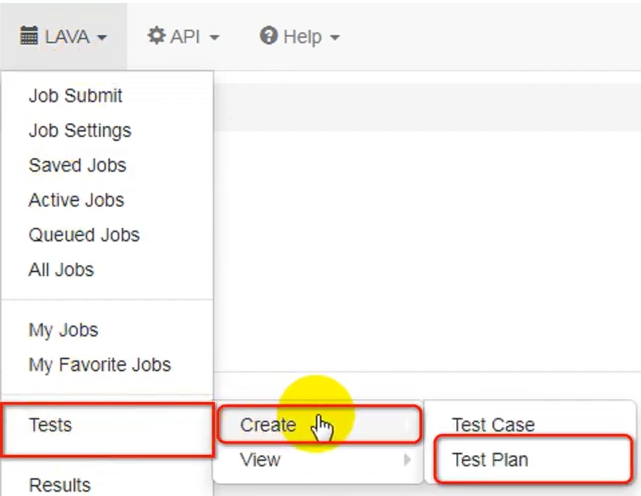
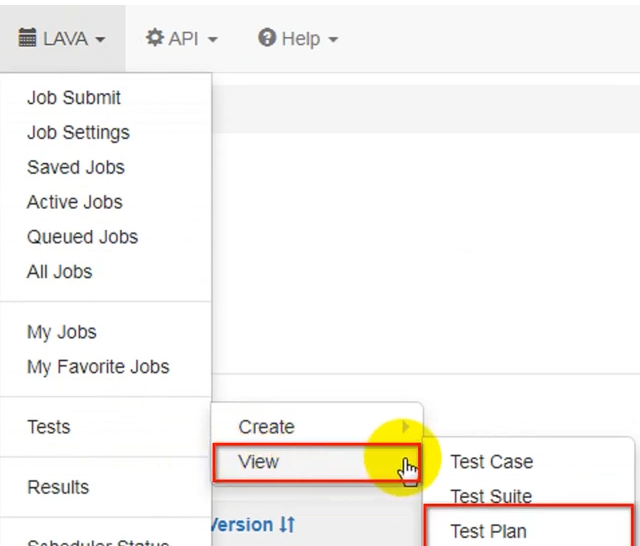
2 Go to Lava-> Select Create -> Test Plan option from ‘Tests’ drop down list as shown:
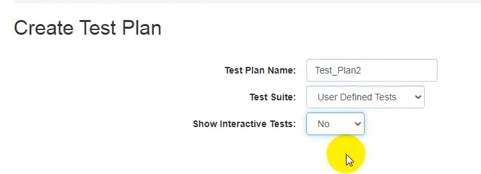
3 Create Test Plan page will appear on the screen.
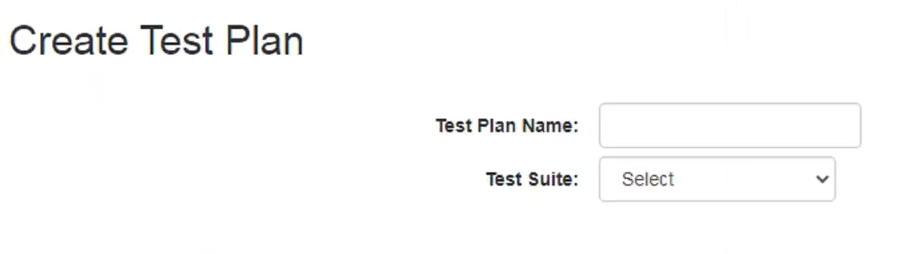
4 Fill the necessary fields:
Test Name: <Suitable name for test plan>
Select any Test Suite from the dropdown. Here, User Defined Tests have been selected from the dropdown for reference.

From the ‘Show Interactive Tests’ dropdown, chose option YES to get the list of all Interactive Tests
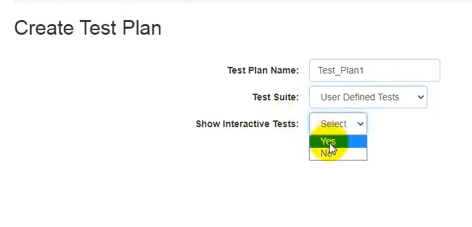
OR Chose option NO to view other Tests.
All tests available in the selected criteria will be displayed on the screen. Tick the checkbox in first column of the respective Test to include it in the test plan.
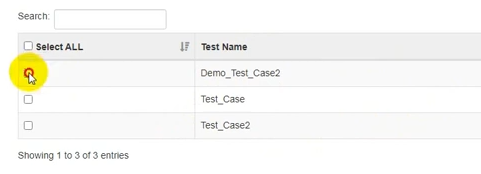
Edit the Arguments (optional) of any Test Suite.
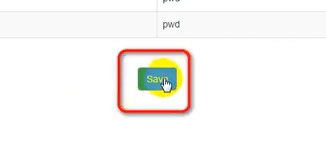
5 After selecting desired packages and arguments, click on ‘Save’ button.
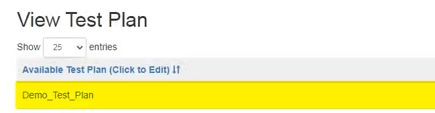
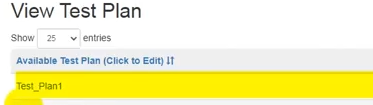
6 Newly created test plan name will be listed on the screen, as highlighted in image below:
7 User can create a duplicate copy of any existing test plan by clicking on ‘Copy As’ action.
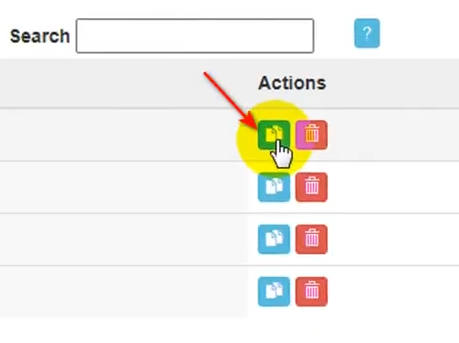
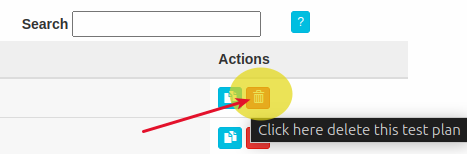
8 User may delete Test Plan by clicking on ‘Delete’ action.
Save-As Test Plan
Following are the steps to Create a copy of an existing User defined test plan:
1 Login to EBF-TAS dashboard through web browser with your credentials
Username : <username>
Password : <password>
2 Click on ‘Tests’ menu option, then on ‘View’, and then click on ‘Test Plan’.
3 User can create a duplicate copy of any existing test plan by clicking on ‘Copy As’ action.
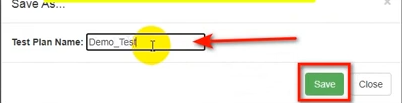
4 Input the name of the Test Plan of your choice on the pop up window. And click on ‘Save’ button.
5 The newly copied Test Plan is generated and saved with a new name.