Serial Console
Following are the steps to access a serial web console:
1 Login to the EBF homepage/Dashboard through a web browser with credentials.
Username : <username>
Password : <password>
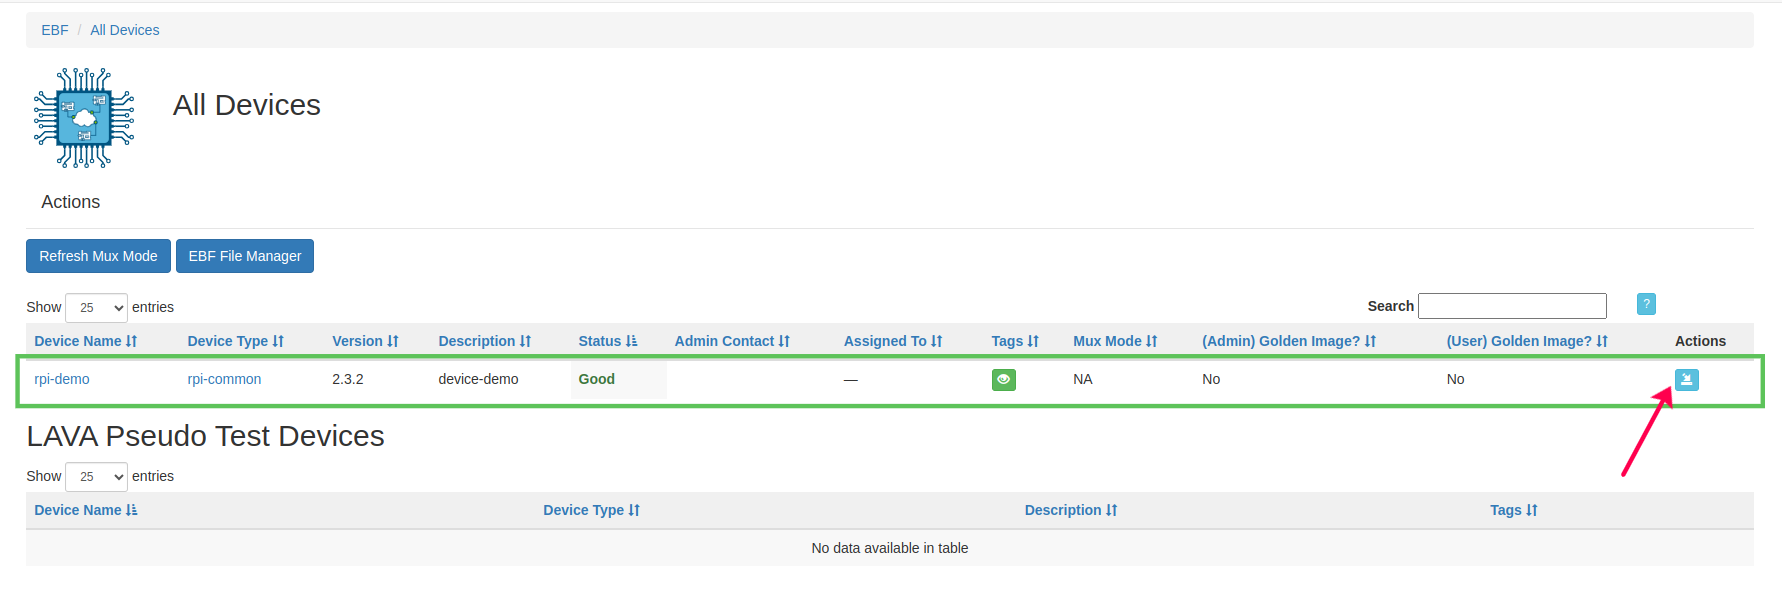
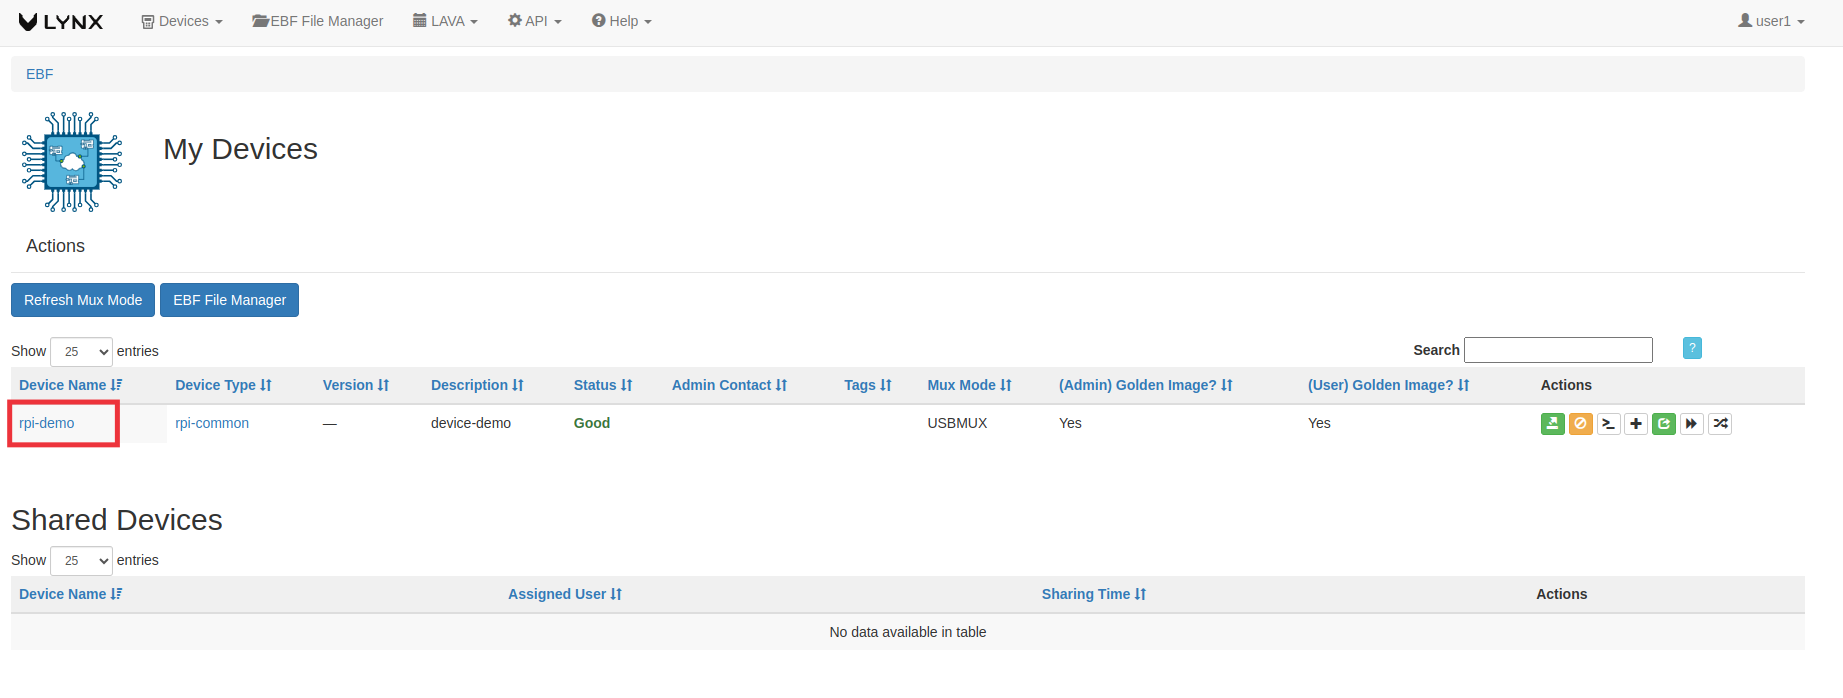
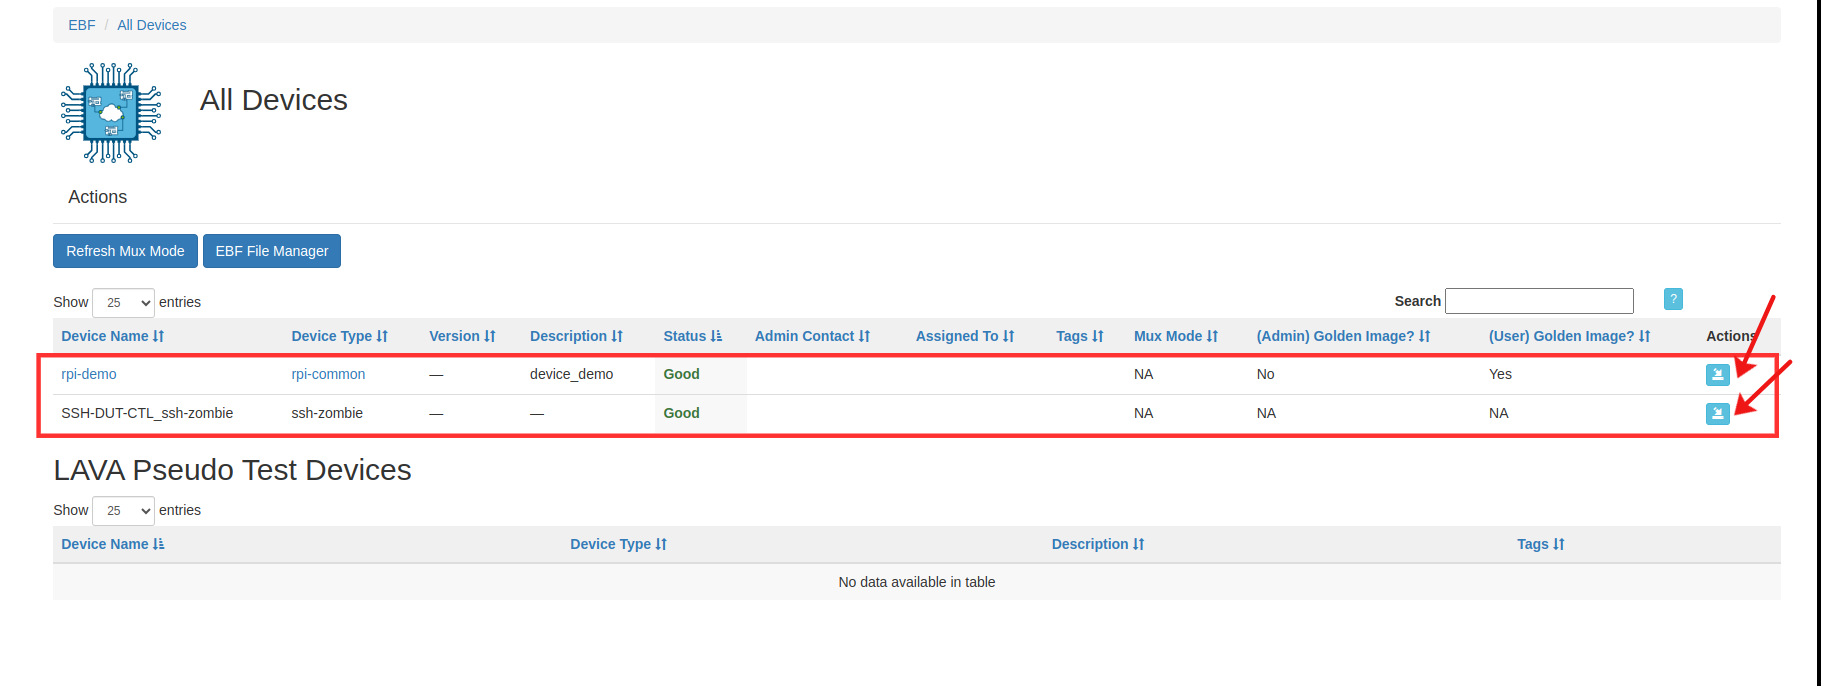
2 Select the All Devices option from the Devices drop-down list.
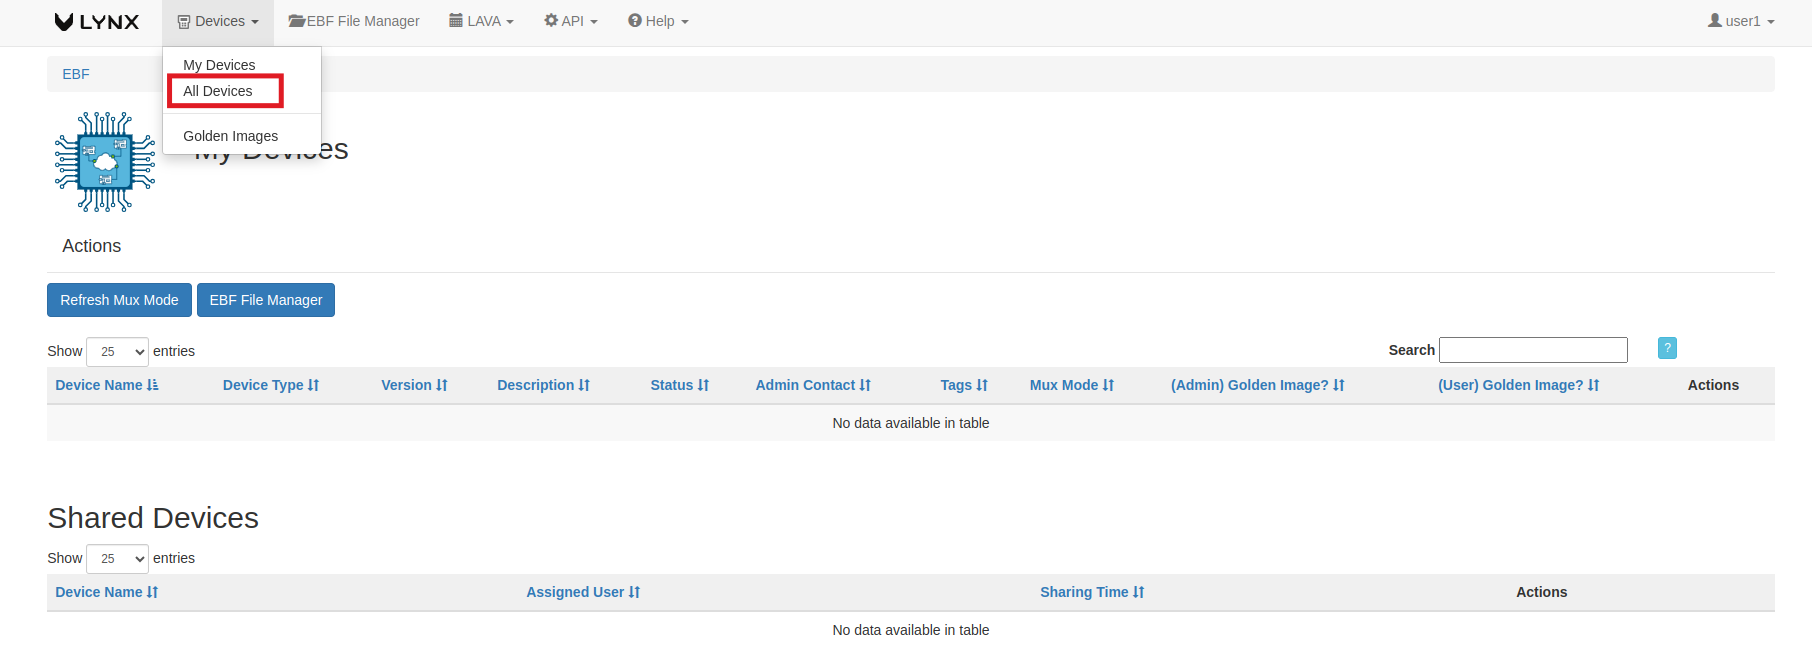
3 Click on the assign button corresponding to the device selected (rpi-demo is taken as a reference here) to allocate the device to the user.
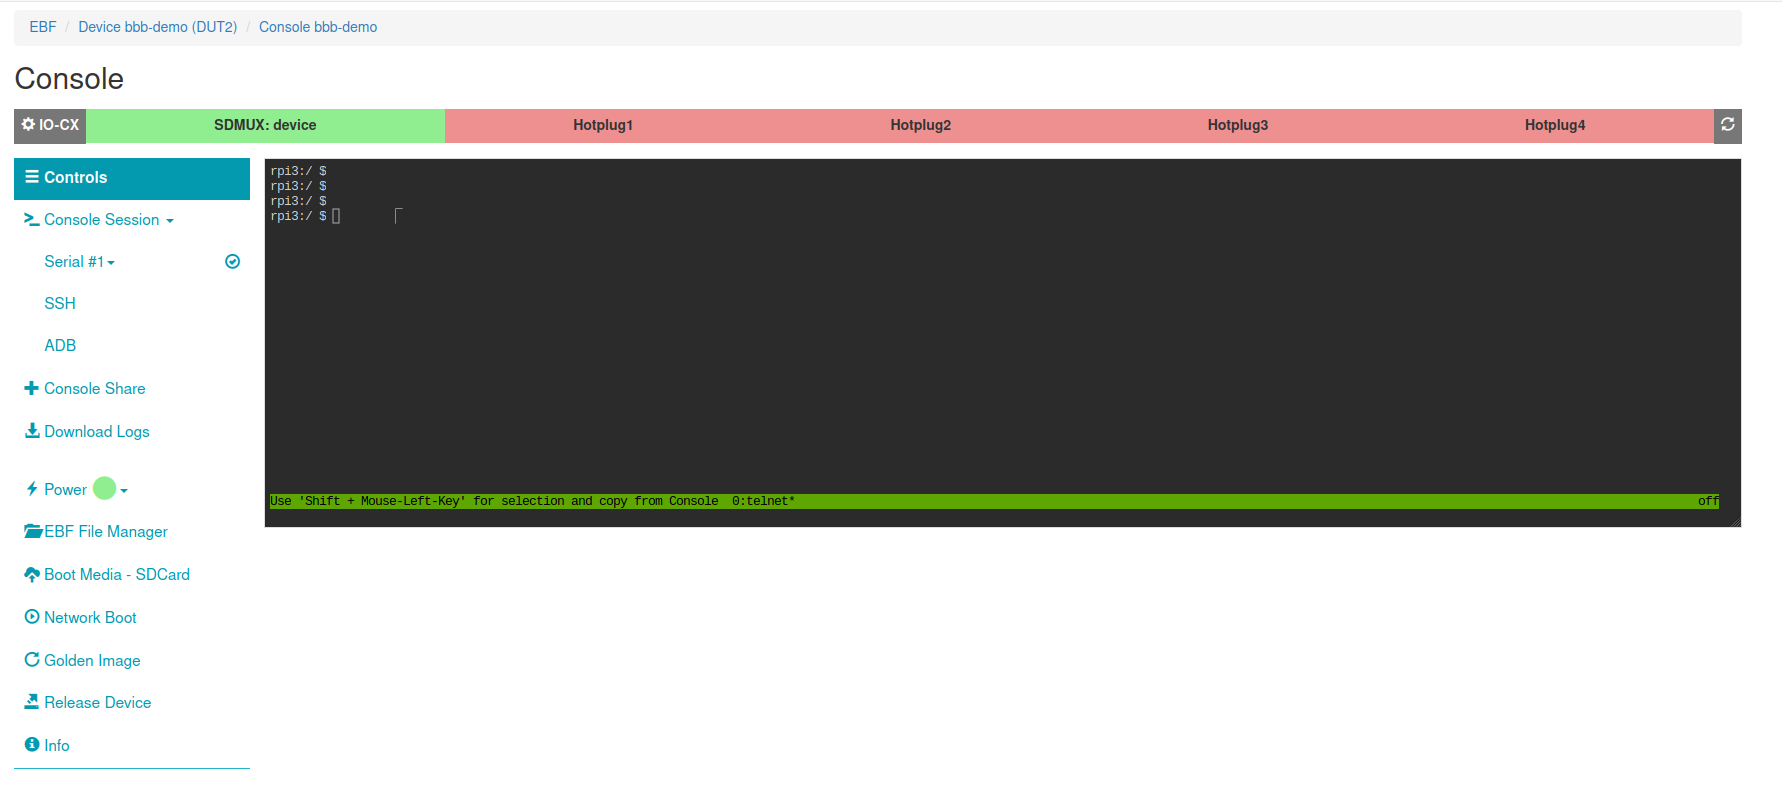
4 Click on the Launch Console button to go to Device’s console page.
5 The following window will appear after selecting the Launch Console option.
NOTE: The following screen is visible with the IO-CX control panel when the IO-CX control panel is connected.
OR
Click on hostname (rpi-demo is taken as reference),
and on the next page, select the Launch Console option.
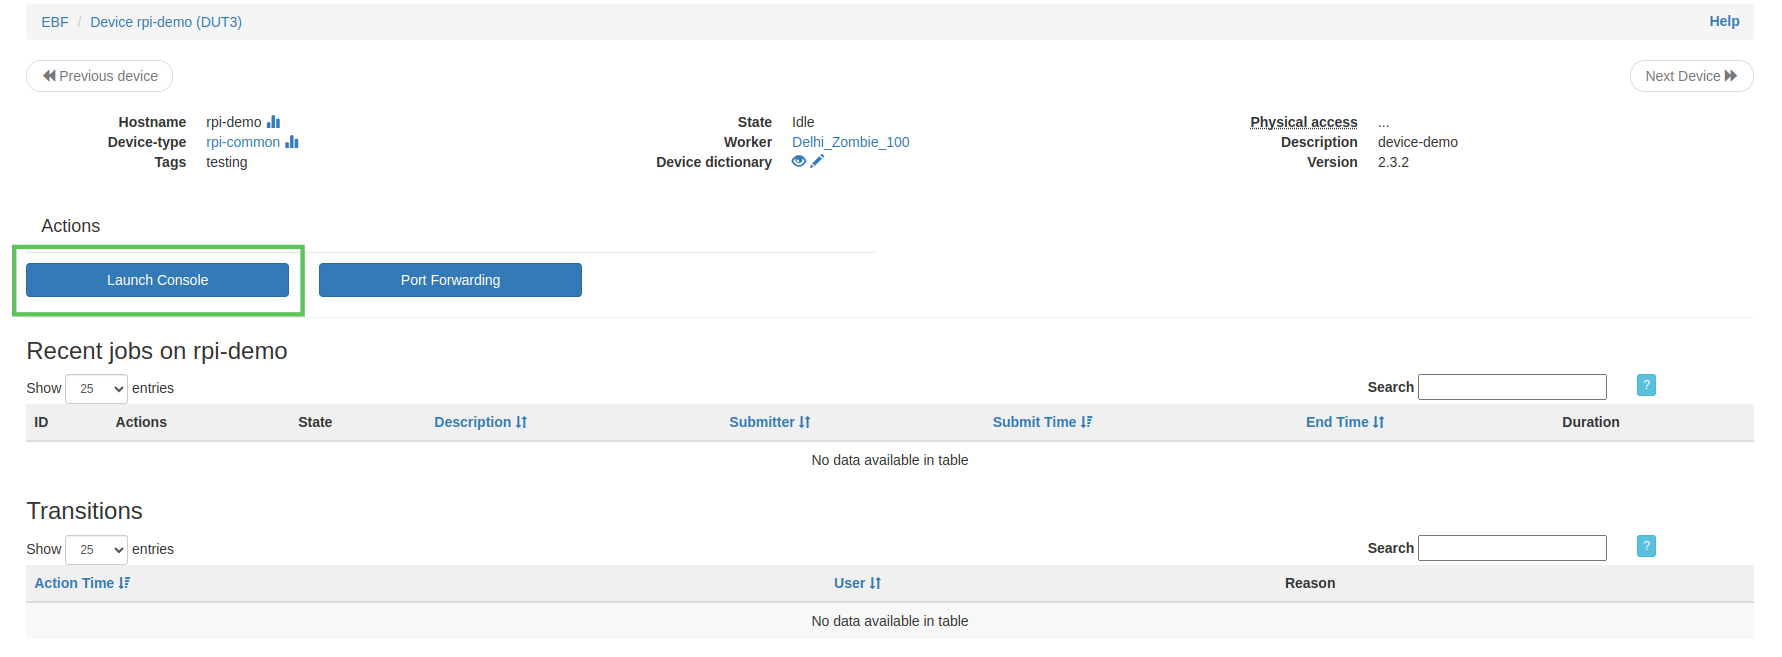
The following window will appear after selecting the Launch Console option.
SSH Console
Following are the steps to access the SSH web console:
1 Login to the EBF homepage/Dashboard through a web browser with credentials.
Username : <username>
Password : <password>
2 After login, first you have to forward your DUT ssh port to any port of Zombie. Refer user_guide.html#how-to-use-port-forwarding for more details on port forwarding.
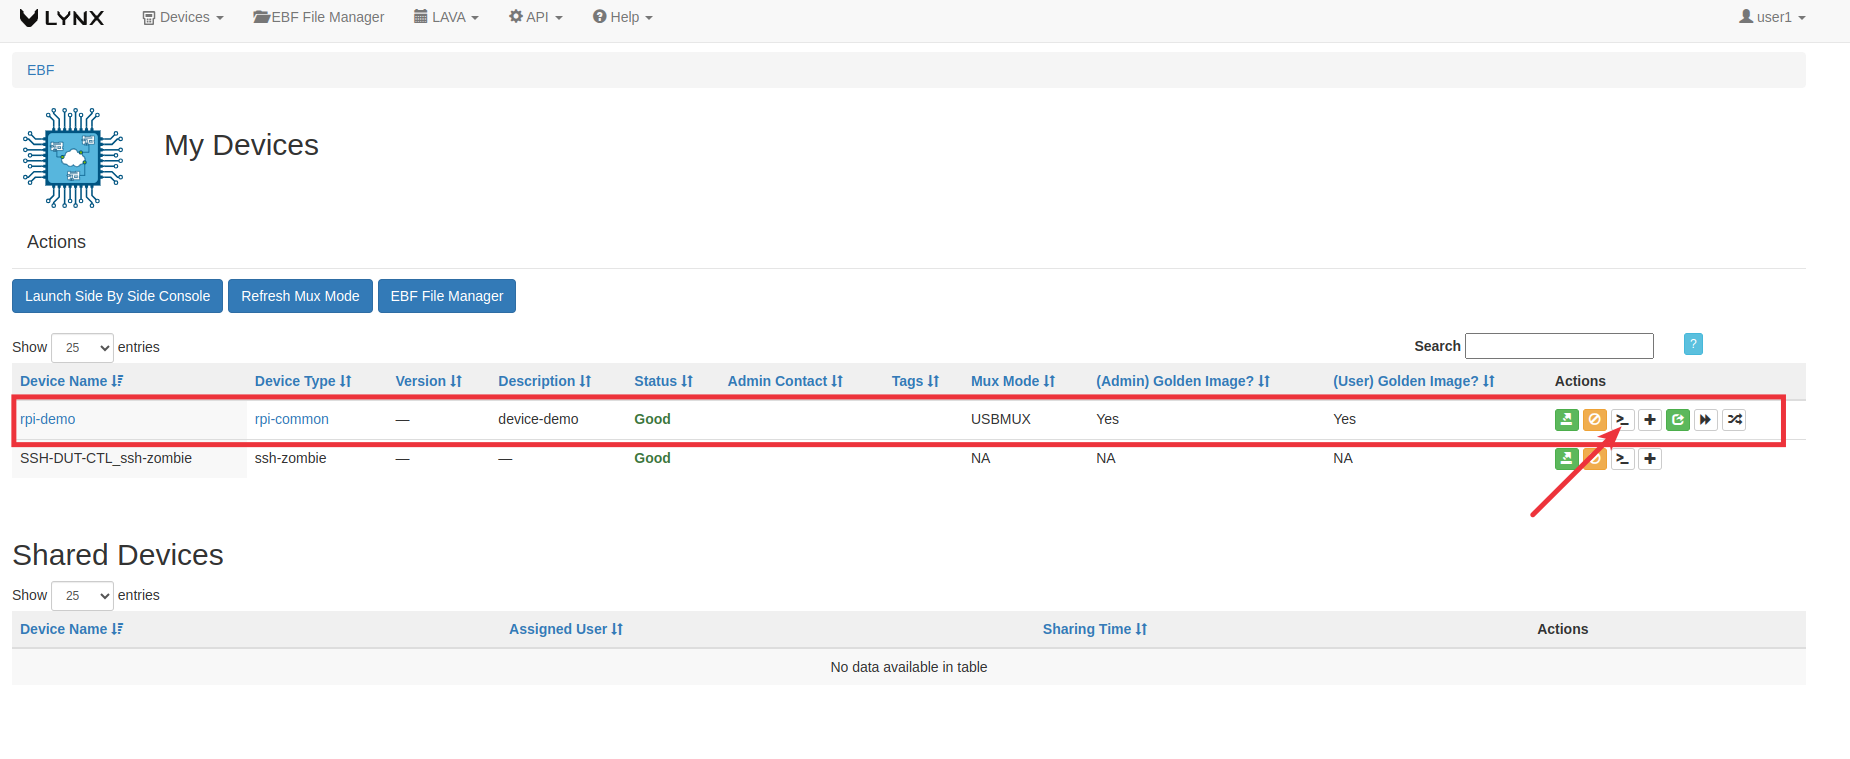
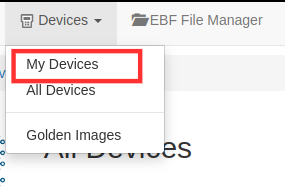
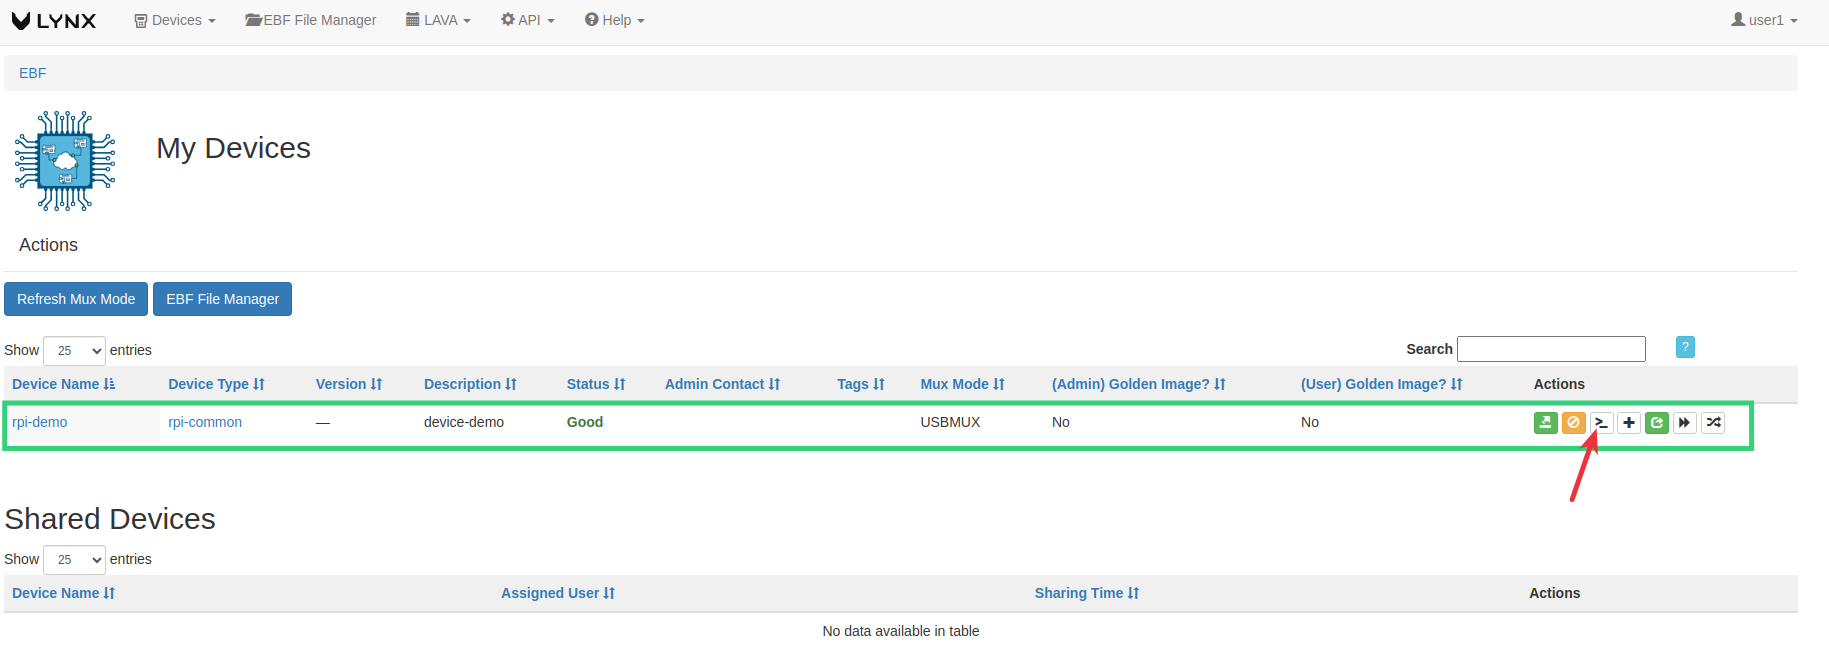
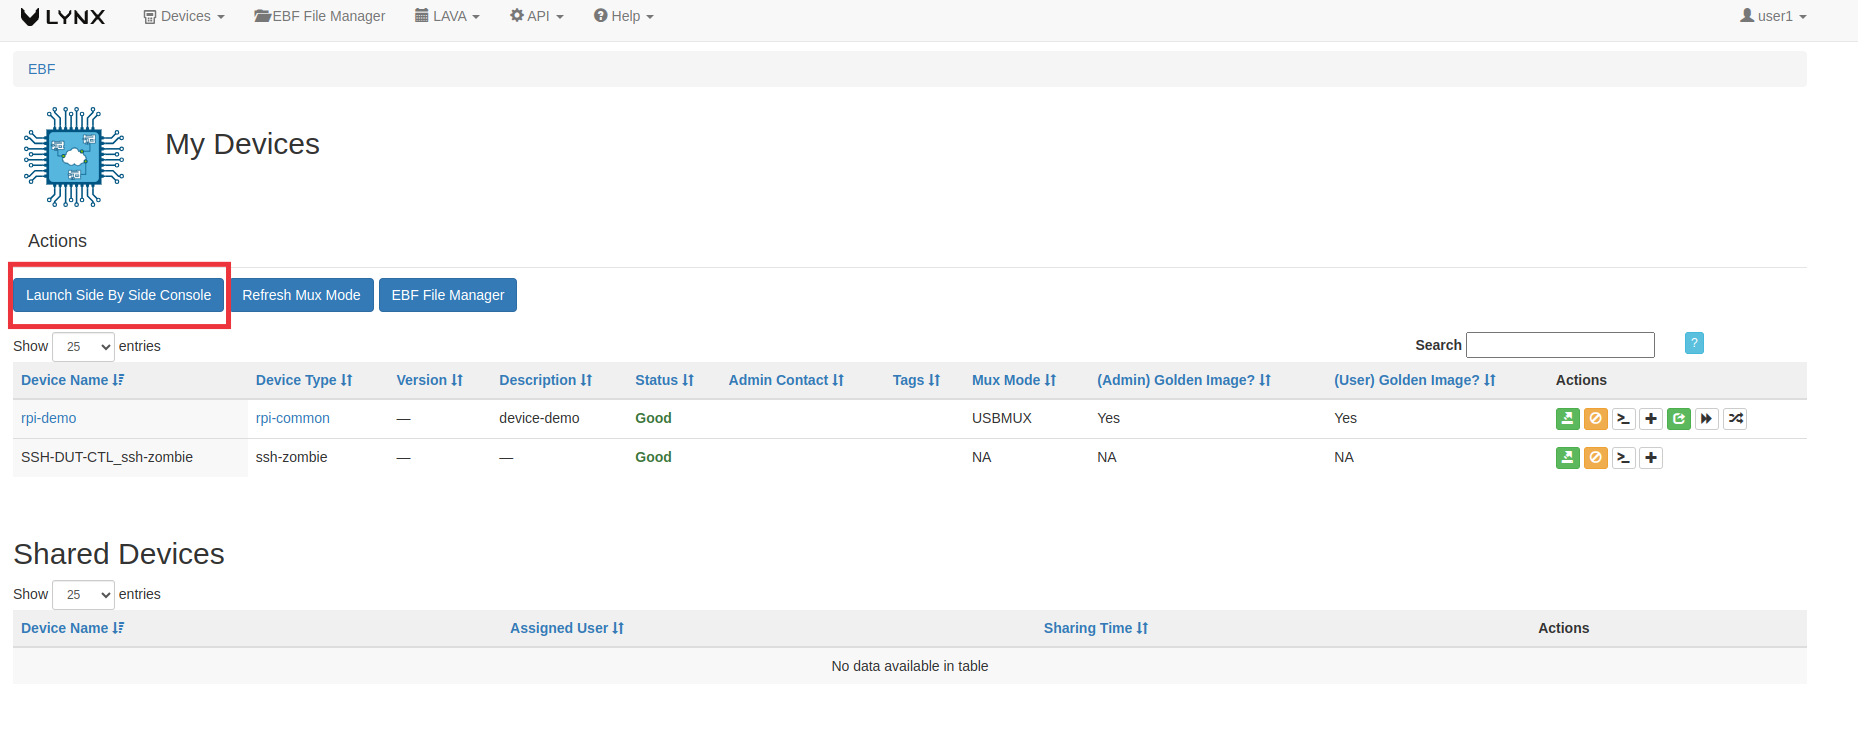
3 Select the My Devices option from the Devices drop-down list.
4 You can launch the console of the target device.
5 The following window will appear after selecting the Launch Console option.
NOTE: The following screen is visible with the IO-CX control panel when the IO-CX control panel is connected.
6 Now you need to click on the SSH option.
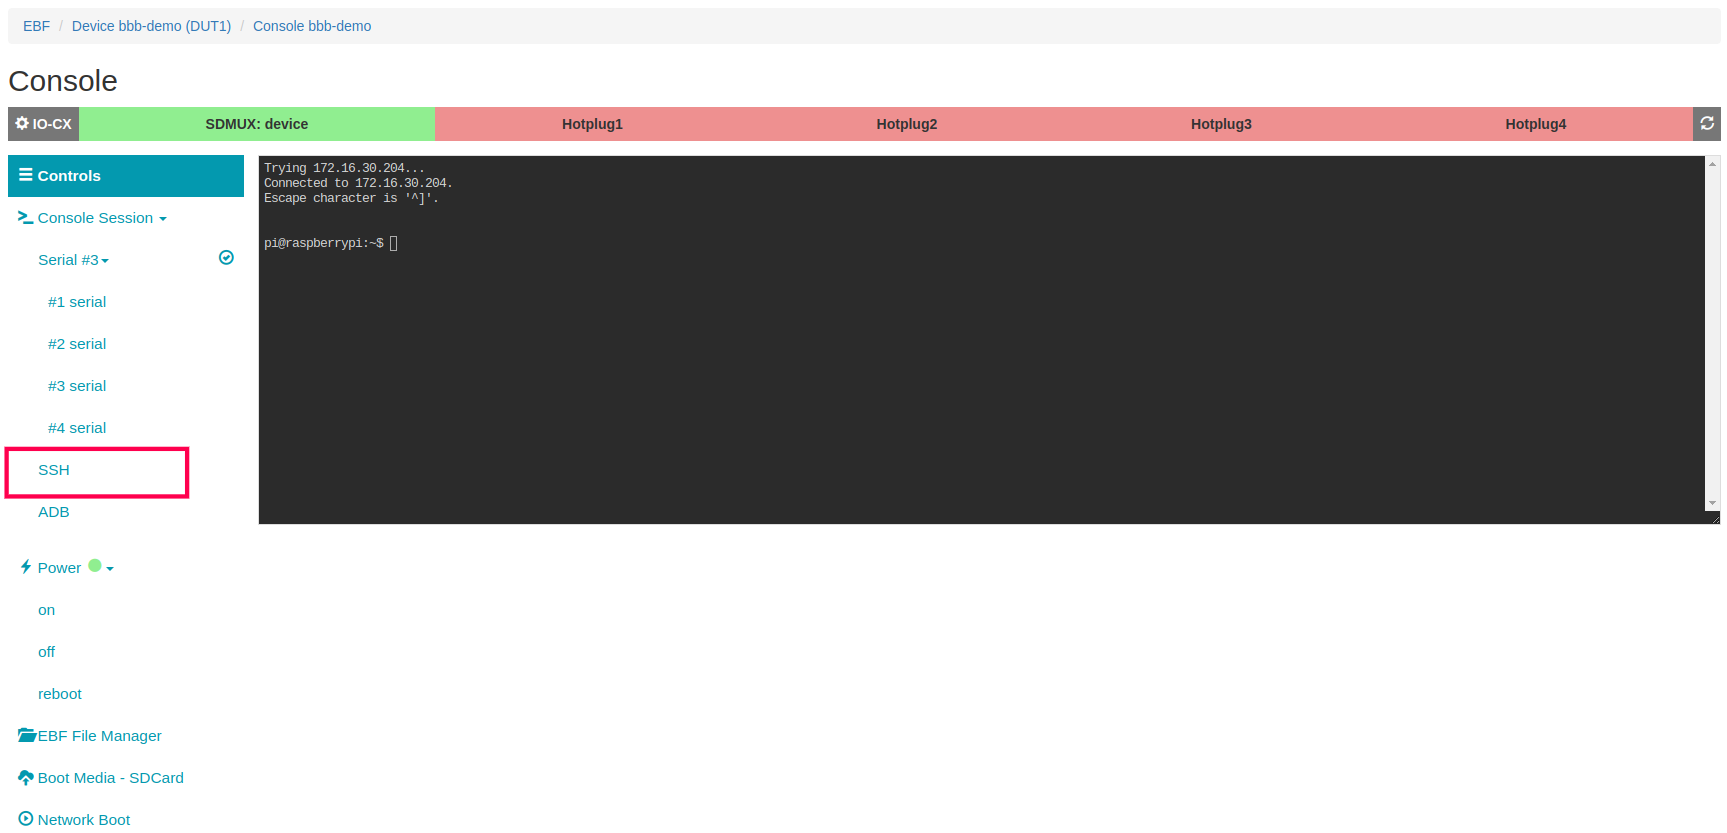
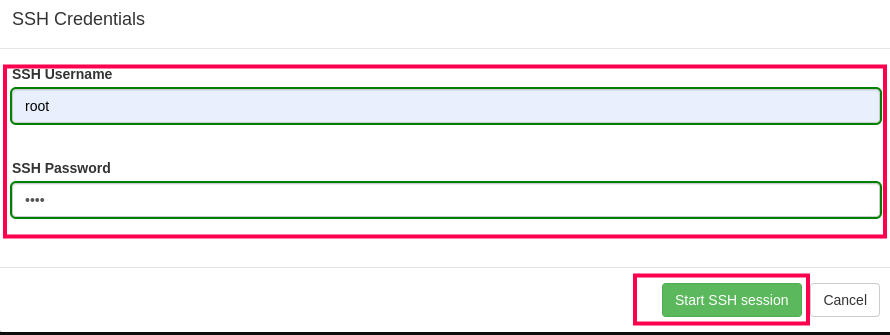
7 Then you can add the SSH username and SSH Password on the popup as highlighted in the image below. After that click on the Start SSH session button.
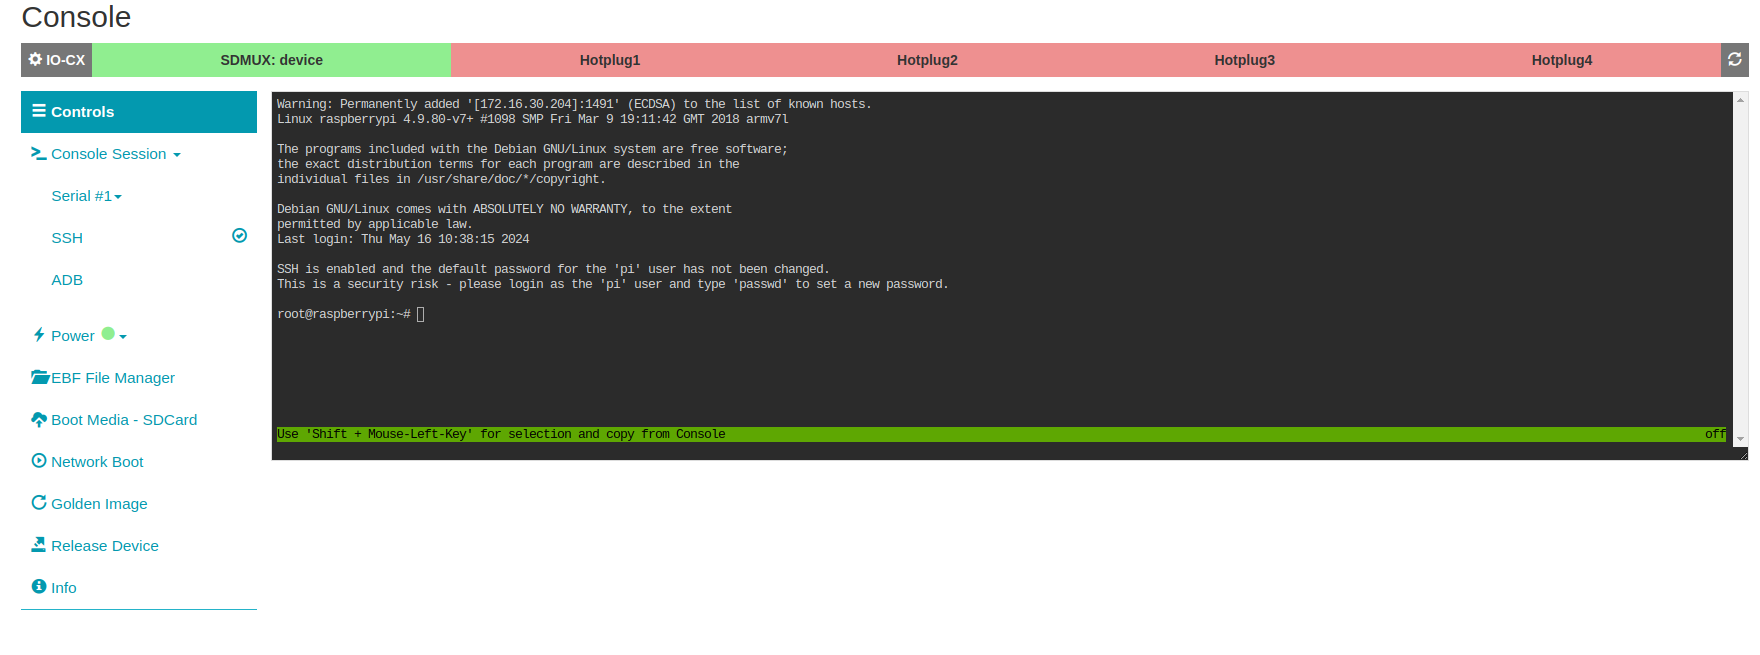
8 Now you can access the ssh console.
ADB Console
Following are the steps to access ADB Console:
1 Login to the EBF homepage/Dashboard through a web browser with credentials.
Username : <username>
Password : <password>
2 Select the My Devices option from the Devices drop-down list.
3 Now You can launch the console of the target device.
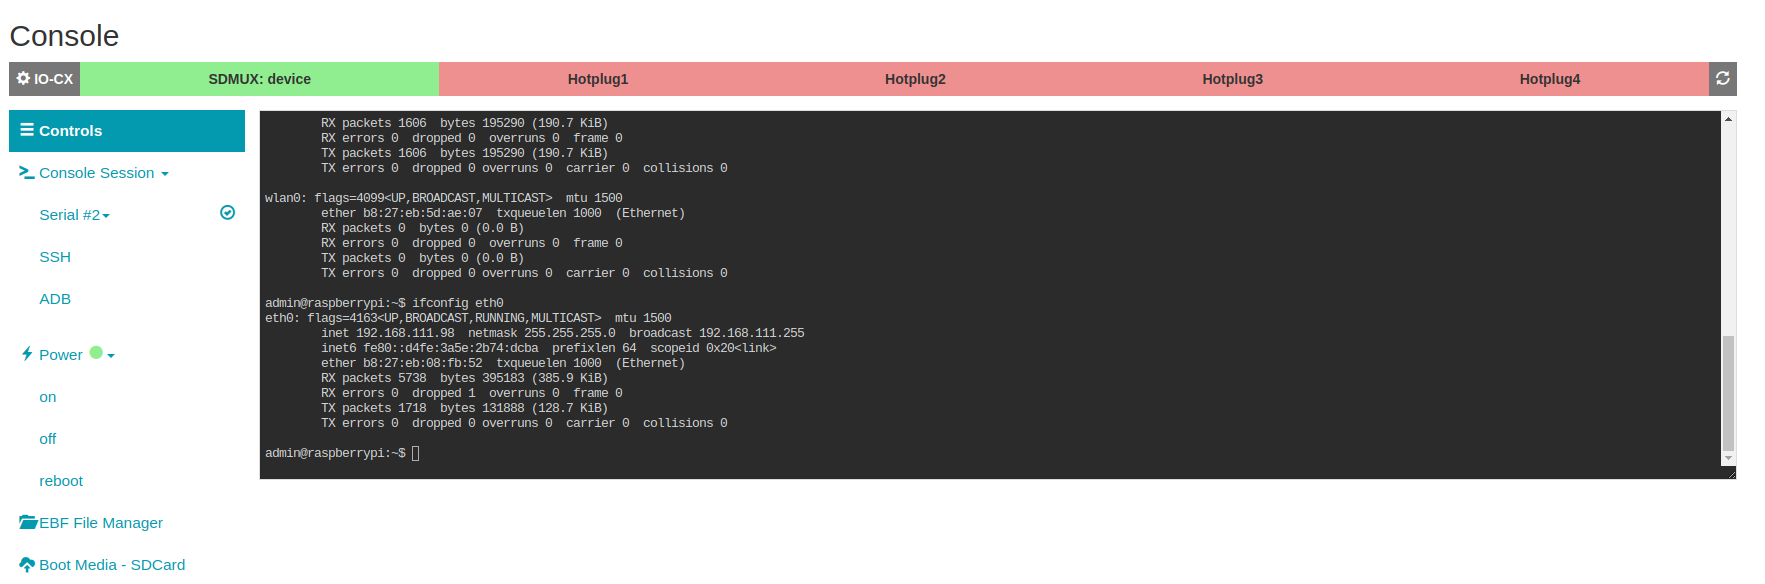
4 The following window will appear after selecting the Launch Console option.
NOTE: The following screen is visible with the IO-CX control panel when the IO-CX control panel is connected.
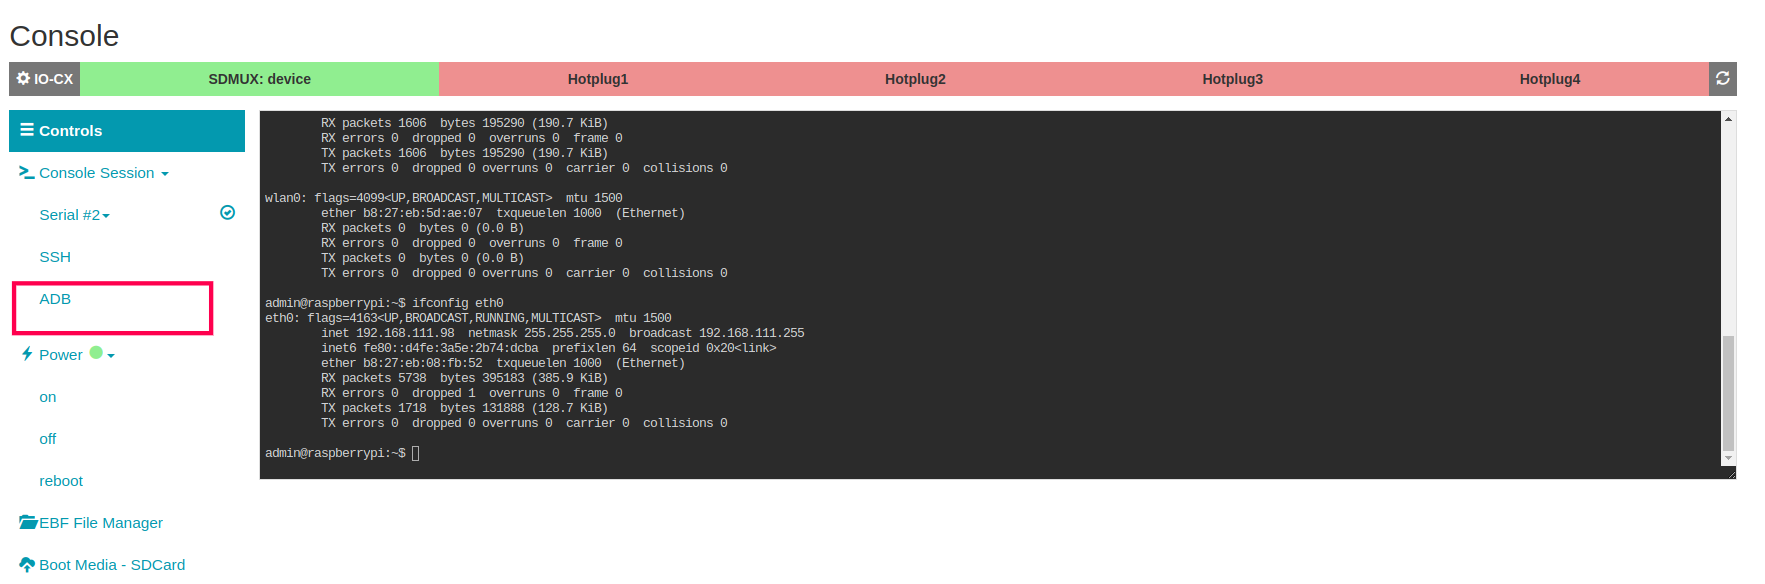
5 Find the device IP address connected to the zombie network.
6 Now click on the ADB option available in the left panel.
7 The following popup appears on the screen enter the device IP connected to the zombie network.
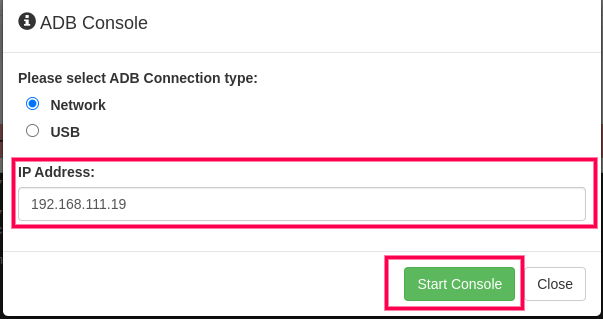
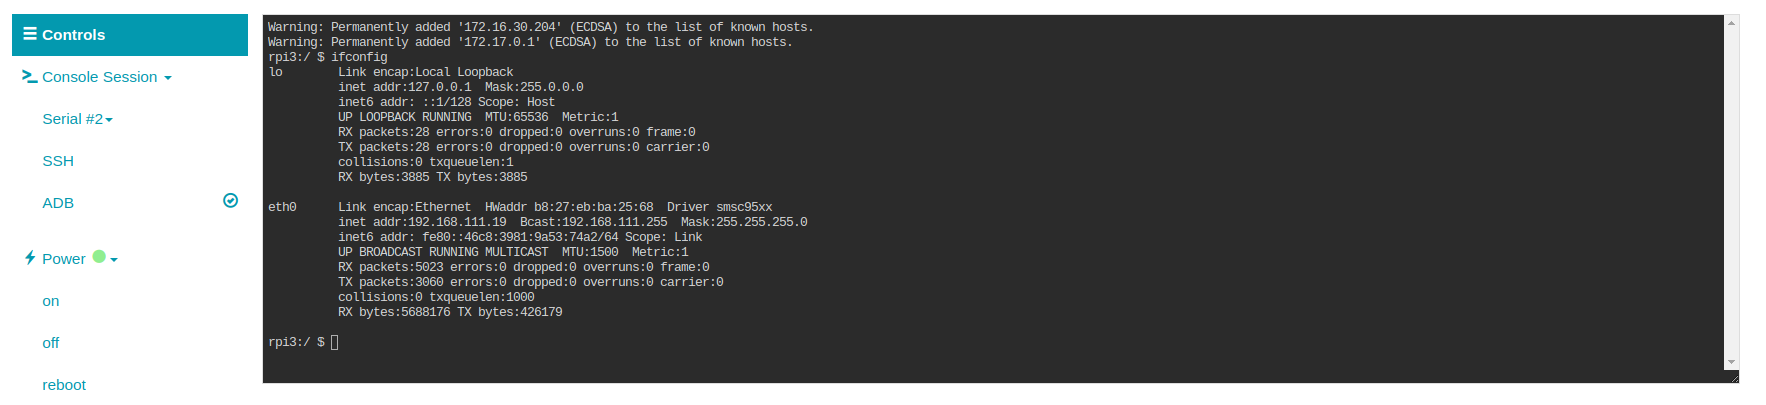
8 After a successful connection you can access adb console.
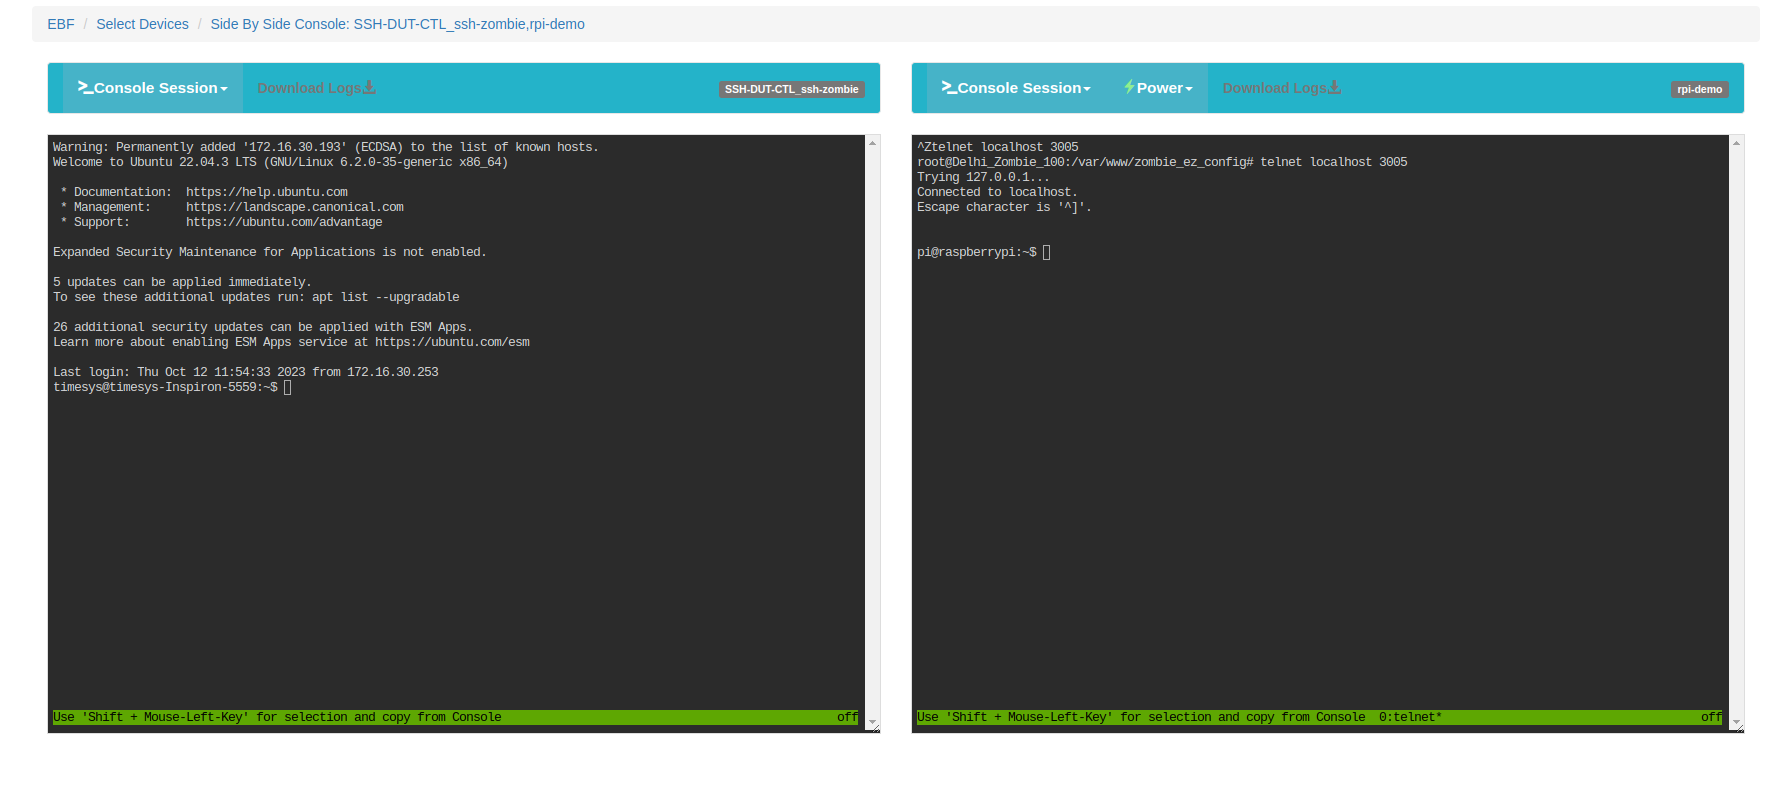
Side by Side Console of two devices
Following are the steps to launch the console of two devices simultaneously:
1 Login to the EBF homepage/Dashboard through a web browser with credentials.
Username : <username>
Password : <password>
2 Select All Devices option from Devices drop down list.
3 Click on assign icon corresponding to the devices selected (rpi-demo and SSH-DUT-CTL_ssh-zombie is taken as reference here) to allocate devices to the user.
4 Click on Launch Side By Side Console button.
5 Select Device_1 and Device_2 from the drop down list of assigned devices.

6 The following window will appear after selecting the Device_2.