Zombie Network Settings Guide

Zombie can be configured only by an Admin level user. Non admin users can only View Status. Following are the steps to configure Zombie network settings:
1 If logging in for the first time, the default credentials are:
Username : admin
Password : admin123
2 Zombie Network Settings page will appear on the screen by default:
3 Enter the data in the respective fields available on Zombie Network Settings page to configure new Zombie.
Zombie Hostname: Field accepts hostname that contains only alphabets,numbers,dot and underscore.
For example: Zombie9

Zombie IP Address: Usually a static address assigned on the corporate or other enterprise network where Master and Zombie can see each other.
For example: 192.168.12.143

Corporate NetMask: Netmask for the above Zombie IP address
For Example:255.255.254.0

Corporate Gateway: for the above Zombie address
For example:192.168.12.2

Zombie WiFi Channel: User can select wifi channel from here
For example:6

Zombie Timezone: Specify the timezome
For example:Asia/Kolkata

Power Strip IP Address:The field accepts only IP Address.
For example:192.168.111.100

Private IP Address:The field accepts only IP Address and Private IP Address must be in range of Power Strip IP Address.
For example: Here 192.168.111.1 is Private IP Address as Power Strip IP Address is 192.168.111.100

Private NetMask: The field accepts only IP Address.
For example:255.255.255.0

Zombie Docker IP Address: Specify the docker ip address for zombie
For example:172.17.0.1

EBF IP Address: Specify the IP address of EBF server
For example: 172.16.30.246

EBF Domain Name: Enter the EBF server domain name

4 After filling all the fields select Save button to configure Zombie with new Network Settings.
NOTE: Clear button clears all the values entered on the page.
5 A message will be displayed on the screen after selecting Save button confirming that Data is Updated Successfully for Network Settings.
6 Click on Reboot button available on the left pane to save and update the Zombie Network configurations.
7 Reverify all the updated changes by logging in again in the Zombie E-Z Configuration Application.
How to restore Default Settings
Following are the steps to restore default settings of Zombie E-Z configuration application:
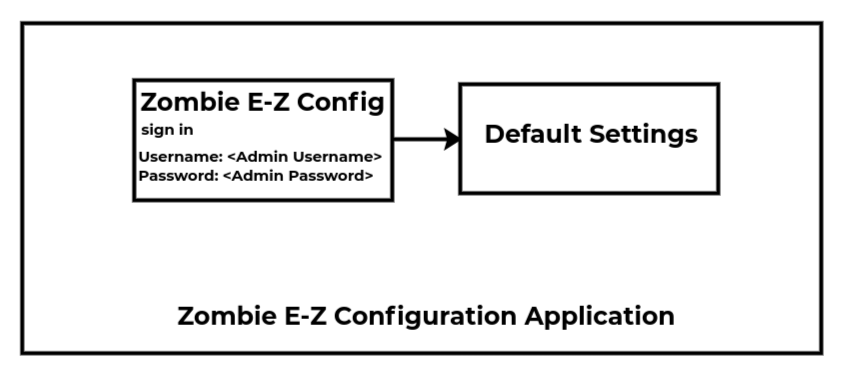
1 Login to Zombie E-Z Configurations application.
Username:<Admin Username>
Password:<Password for Admin>
2 After logging in Zombie E-Z Config application, Zombie Network Settings page will appear on the screen.
3 In the left pane, click on Default Settings option to restore the default values.
4 A message will appear on the screen to restore default values. Click on OK button.
5 All the updated changes will be deleted and default values will be restored.