Job Submission Wizard
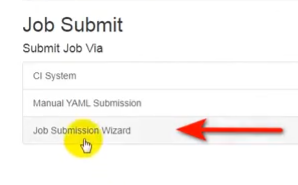
1 Select ‘Job Submission Wizard’ option from Job Submit page.
Job: Basic Job Details page will appear on the screen. Provide Job name in job name section.
For example: bbb-udt
After providing name, Select ‘Test Plans’ that need to be run in this section.

All the available ‘Test Plans’ will be shown in the table.. After selecting desired ‘Test Plan(s)’, hit ‘Next’ button.
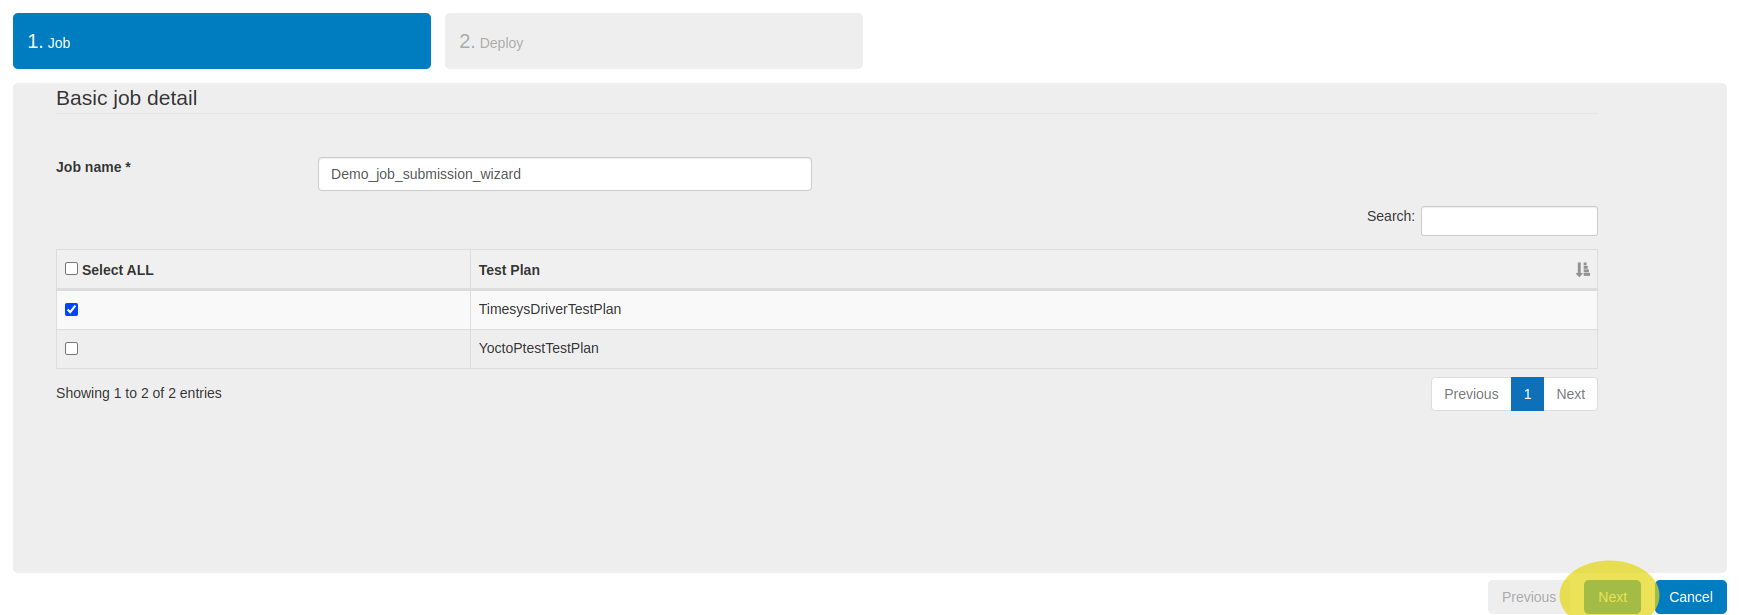
NOTE: Selecting Cancel button will cancel the Job Submission process and the user will be redirected to Job Submit page.
Tests to be Run: Select Test Plans that need to be run in this section.
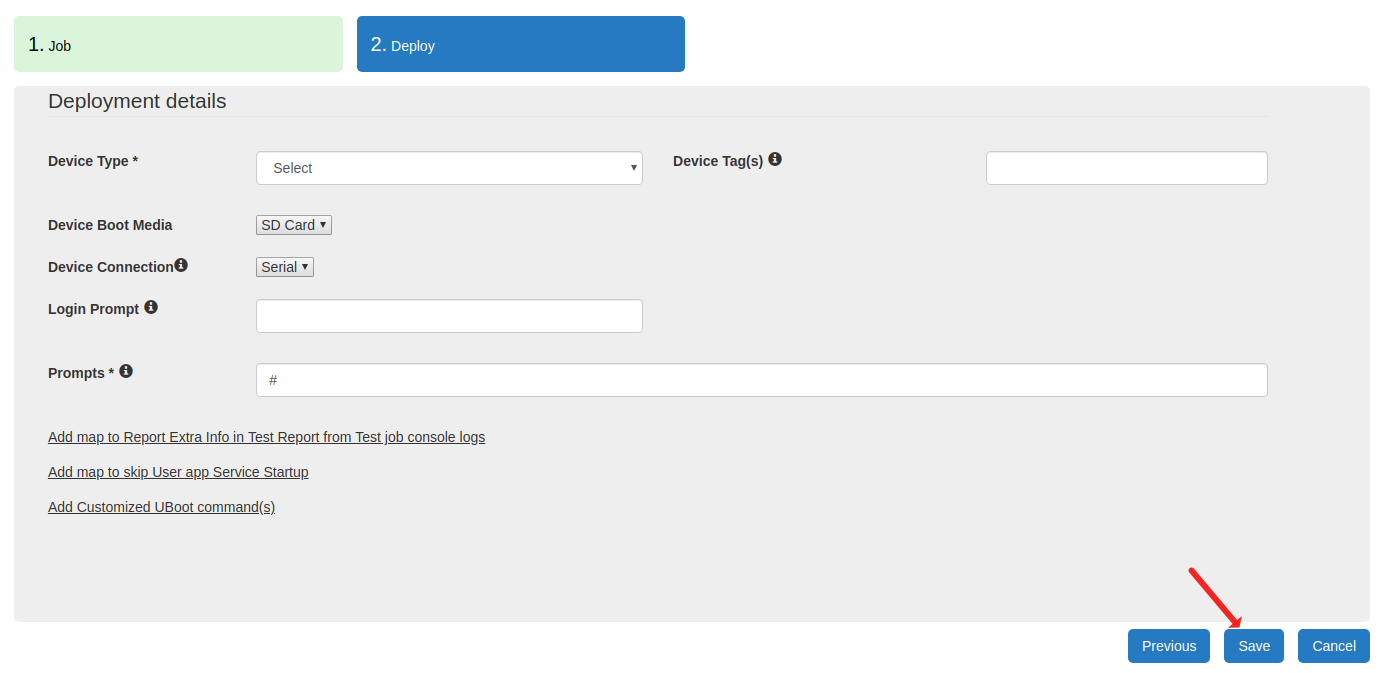
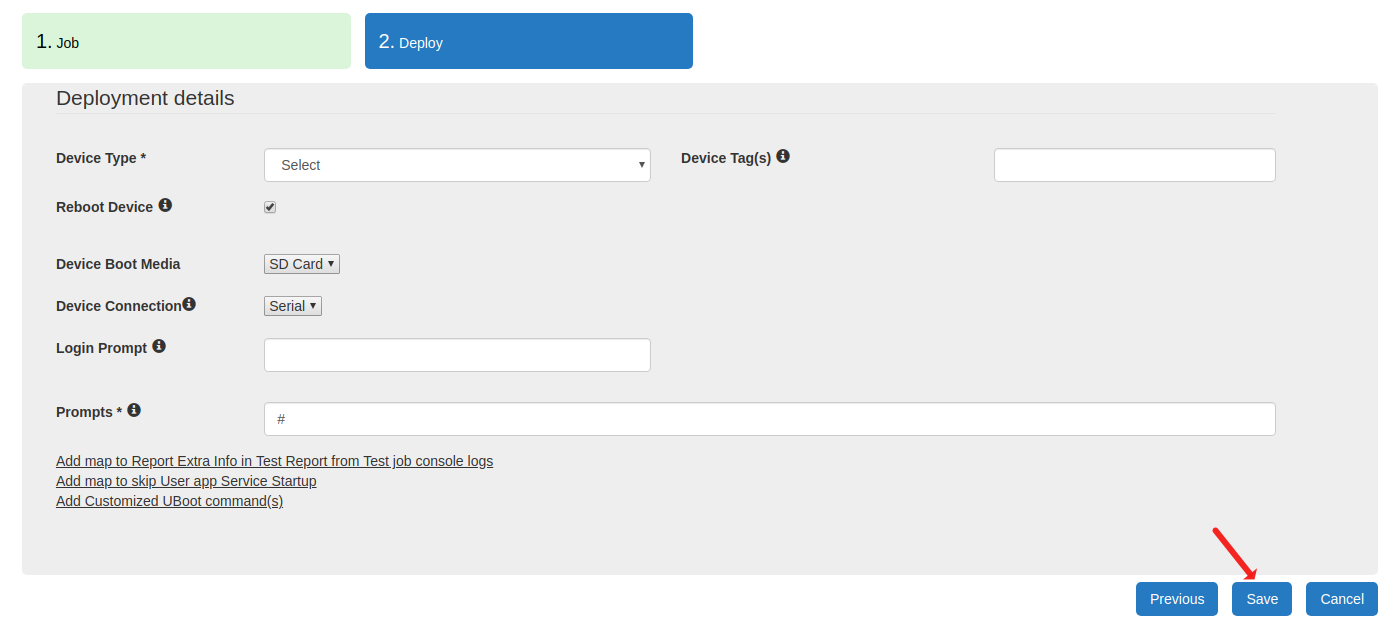
Deployment Details: Provide Image Deployment details in this section. The following explain details for deploy section
Cancel: Select Cancel button to reset Test job submission page.
Save: Hit Save Button to preserve Test job details.
OR
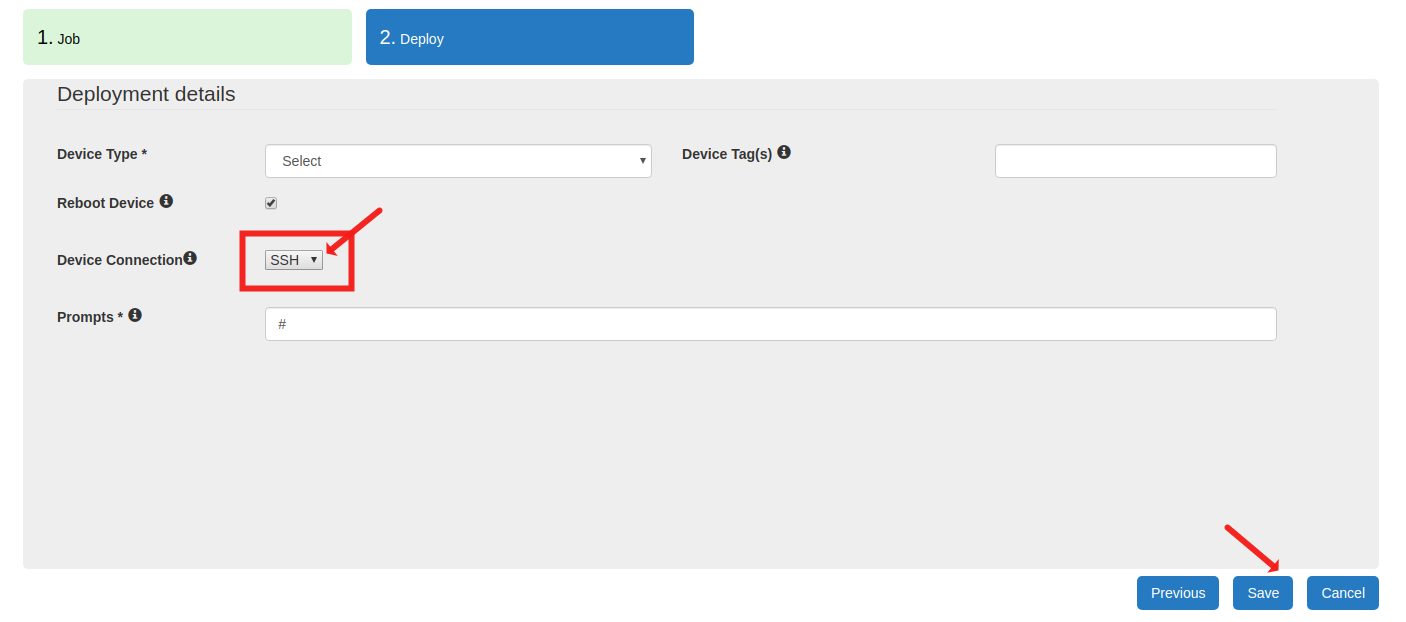
If the Test Plan consists of any Interactive Test, following screen will be shown.
If you want to run the tests over SSH connection, select the option from ‘Device Connection’ drop-down, input all the mandatory details and hit on ‘Save’ button.
2 On successful save, User will be redirected to Scheduler –> Saved Jobs page.

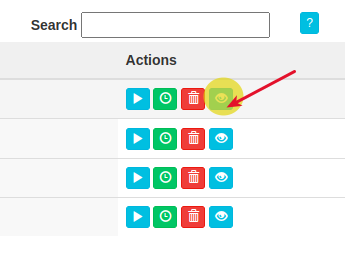
3 User can view YAML for the job by clicking on ‘View YAML’ icon present on the screen.
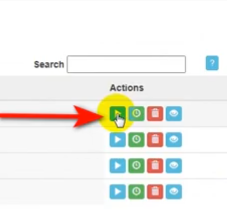
4 From this screen user can submit newly created test job by clicking on its “Run” action button.
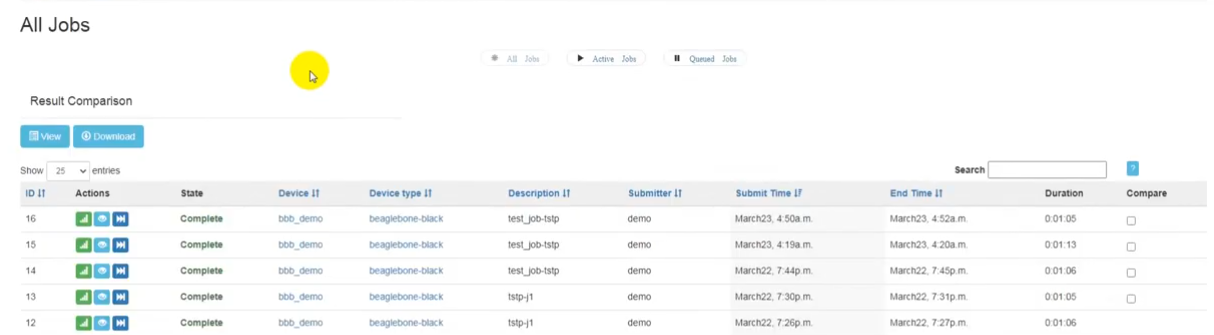
5 After submitting the job, user can view the status of the test job. Select ‘All Jobs’ option from ‘LAVA’ drop down list.
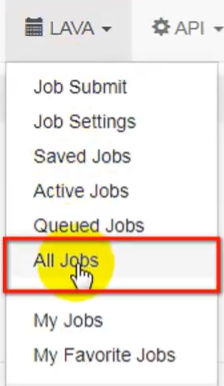
6 The list of all jobs will appear on the screen. The status of each submitted test job is shown under the ‘Status’ column.